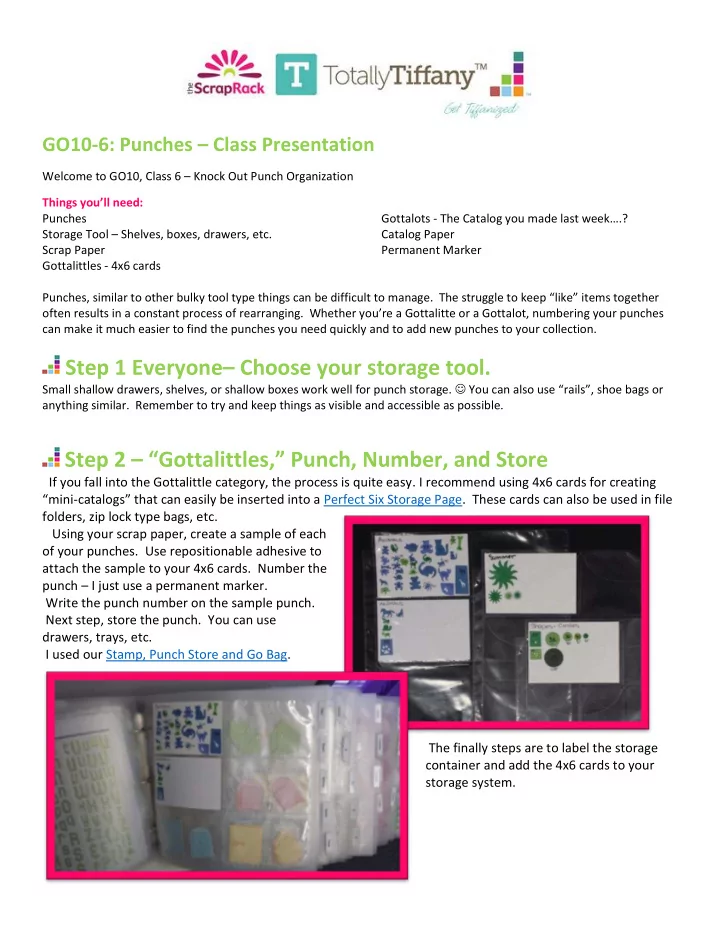

GO10-6: Punches – Class Presentation Welcome to GO10, Class 6 – Knock Out Punch Organization Things you’ll need: Punches Gottalots - The Catalog you made last week….? Storage Tool – Shelves, boxes, drawers, etc. Catalog Paper Scrap Paper Permanent Marker Gottalittles - 4x6 cards Punches, similar to other bulky tool type things can be difficult to manage. The struggle to keep “ like ” items together often results in a constant process of rearranging. Whether you ’ re a Gottalitte or a Gottalot, numbering your punches can make it much easier to find the punches you need quickly and to add new punches to your collection. Step 1 Everyone – Choose your storage tool. Small shallow drawers, shelves, or shallow boxes work well for punch storage. You can also use “rails”, shoe bags or anything similar. Remember to try and keep things as visible and accessible as possible. Step 2 – “ Gottalittles, ” Punch, Number, and Store If you fall into the Gottalittle category, the process is quite easy. I recommend using 4x6 cards for creating “mini -catalogs ” that can easily be inserted into a Perfect Six Storage Page. These cards can also be used in file folders, zip lock type bags, etc. Using your scrap paper, create a sample of each of your punches. Use repositionable adhesive to attach the sample to your 4x6 cards. Number the punch – I just use a permanent marker. Write the punch number on the sample punch. Next step, store the punch. You can use drawers, trays, etc. I used our Stamp, Punch Store and Go Bag. The finally steps are to label the storage container and add the 4x6 cards to your storage system.
Step 2 – Gottalots - Punch, Add to your catalog, Number and Store. You ’ ll follow the same beginning steps as the Gottalittle group, but instead of putting your sample punches onto the 4x6 cards, you ’ ll add them right on to the catalog pages you created for your un-mounted stamps. Step 3 – Start small – finish, and begin again. As we recommend every week. Work in small batches of punches. You ’ ll be amazed at how much you can get done in just a few minutes each day.
Tips: If you ’ re punching borders, be sure to leave enough space around the punch out to write the number. When cataloging shapes (circles, squares, etc.) note the size with the sample. It will be easier to choose the right punch the first time. For tiny punches use the negative. Like we did with the Giraffe and the Paw Print. Step 4 – Move your punches into your Organized Only Space!! Each week we’ve added a little more to our Organized Only Space. It’s filling up nicely. Everything is visible and accessible. Hopefully you’ll find a little time to craft over the next week. I’m sure you’ll find the work you’ve done will make crafting even more fun! Step 5 – Watch for your next GO-10 Email! Thanks for participating in Go-10. Remember if you want to connect with other Go-10 or Get Organized Challenge participants, you can join them on FB by searching: 2011GetOrganizedChallenge Group – Or just click here.
Recommend
More recommend