Transfer Printing on Mylar Using PVA or White Glue Presented by: - PowerPoint PPT Presentation
Transfer Printing on Mylar Using PVA or White Glue Presented by: Phyllis King and Teresa Foster 2015 NAEA National Convention New Orleans Step 1: Complete an image on a Mylar sheet with mixed-media mark-making tools listed in the handout.
Transfer Printing on Mylar Using PVA or White Glue Presented by: Phyllis King and Teresa Foster 2015 NAEA National Convention – New Orleans
Step 1: Complete an image on a Mylar sheet with mixed-media mark-making tools listed in the handout. Allow the image to dry.
Step 2: Tape Mylar sheet to smooth illustration or matte board. Step 3: Draw a line of glue across the smooth board at the top next to the blue painter’s tape.
Step 4: Fold the Mylar sheet over the board. Step 5: Squeegee the glue across the image. One pass pulling the glue down is best. One tight pass with the squeegee helps to avoid wet pockets of glue. Clean excess glue off of the end of the board.
Step 6: When the glue is dry, pull up the Mylar sheet. You can use a hair dryer to speed up the drying process.
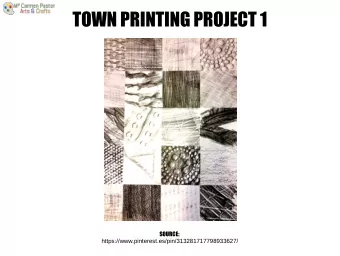
Example of 3-step multi-layered print with glue, Mylar, and mixed-media mark-making tools.
Completed prints with multiple layers.
Recommend


More recommend
Explore More Topics
Stay informed with curated content and fresh updates.