Nondestructive Evaluation Education, Experiences and Career at NASA - PowerPoint PPT Presentation
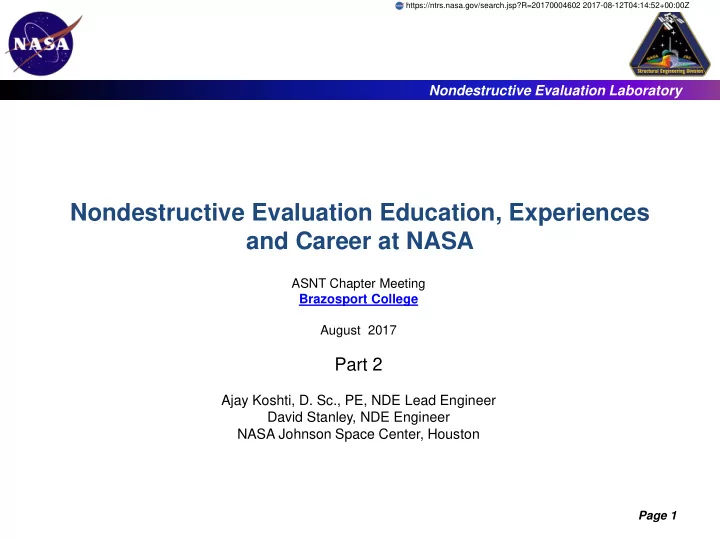
https://ntrs.nasa.gov/search.jsp?R=20170004602 2017-08-12T04:14:52+00:00Z Nondestructive Evaluation Laboratory Nondestructive Evaluation Education, Experiences and Career at NASA ASNT Chapter Meeting Brazosport College August 2017 Part 2
https://ntrs.nasa.gov/search.jsp?R=20170004602 2017-08-12T04:14:52+00:00Z Nondestructive Evaluation Laboratory Nondestructive Evaluation Education, Experiences and Career at NASA ASNT Chapter Meeting Brazosport College August 2017 Part 2 Ajay Koshti, D. Sc., PE, NDE Lead Engineer David Stanley, NDE Engineer NASA Johnson Space Center, Houston Page 1
Agenda Nondestructive Evaluation Laboratory • Organization of NDE at NASA • Qualifications of NDE personnel at NASA • NDE Requirements • NDE Inspection • NDE Methods • NDE Method Application Examples • POD Analysis • Method Selection Factors • Online Resources Page 2
Organization of NDE at NASA Nondestructive Evaluation Laboratory • Centers with NDE Facilities – Johnson Space Center (JSC) • International Space station (Boeing), Orion (Lockheed Martin), Morpheus, Commercial Cargo/Crew (SpaceX Dragon/Falcon 9, Sierra Nevada Dream Chaser, Orbital Sciences, and Boeing CST-100) • JSC Engineering Contractor: Jacobs Eng. / JETS Contract – Marshall Space Flight Center (MSFC) • Space Launch System – Glenn Research Center (GRC) – Goddard Space Flight Center (GSFC) – Kennedy Space Center (KSC) • NDE Contractor: PaR systems (Former United Space Alliance, Hanger N NDE) supporting KSC launch/assembly operations and commercial activities – Langley Research Center (LaRC) • NDE Research Branch • NASA Engineering Safety Center, NDE Manager • NASA Headquarters Code Q NDE Manager – Also known as NASA NDE Working Group (NNWG) » NASA Commercial Crew NDE Liaison – White Sands Test Facility • Centers with NDE or IVHM – Each center has some of the two. Other centers are – Jet Propulsion Lab, Stennis Research Center, Armstrong Flight Research Center and Ames Research Center Page 3
Qualifications of NDE Personnel at NASA Nondestructive Evaluation Laboratory • Civil Service – Ph. D.’s mostly at NASA LaRC – B.S. or M.S. in science, engineering, or mathematics – NAS 410 certified (NASA MSFC) – ASNT level 3 (MSFC and JSC) • Contractor – NAS 410 required for part acceptance inspection – Formal education: high school diploma, AA, AS, BA, BS, MS, Ph. D. Page 4
NDE Requirements Nondestructive Evaluation Laboratory • NDE is part of Materials and Processes Engineering • NASA Programs at JSC – Requirements are program specific, for example • NASA-STD-6016 Standard Materials and Process Requirements for Spacecraft • NASA-STD-5019: Fracture Control requirements for Spaceflight Hardware • NASA-STD-5009: Nondestructive Evaluation Requirements for Fracture Critical Metallic Hardware – NAS 410 – MIL-HDBK-6870 – Data Requirements Document DRD: NDE Plan • Commercial Programs with JSC involvement – Some of above requirements would be applicable as negotiated between NASA and the provider Page 5
NDE Inspection Nondestructive Evaluation Laboratory • NDE Inspection – Routine NDE inspection is performed by Quality organization, Safety and Mission Assurance (S & MA) by NAS 410 – Engineering personnel certified as NAS 410 may also perform the acceptance NDE – When authorized by program it may also be performed by NDE experts that are not NAS 410 certified Page 6
What is NDE? Nondestructive Evaluation Laboratory • Nondestructive evaluation is a broad interdisciplinary field concerned with the development and use of inspection technologies to evaluate the integrity or measure a characteristic of a material, component or structure without impairing its future usefulness • Common applications include: – Detection and sizing of defects in raw materials and manufactured components – Detection and sizing of in-service damage, e.g. fatigue cracks, corrosion and impact damage – Manufacturing process control – Assembly verification – Material verification and sorting – Coating thickness measurement – Physical, electrical and thermal property measurement – Stress measurement • NDE is divided into various methods each based on a particular scientific principle (sound propagation in solids, thermal conductivity, electromagnetic induction, etc.) • Each method is further divided into techniques based on the specific ways the method can be performed (ultrasonic pulse-echo, through transmission, contact, immersion); the total number of potential techniques is easily in the hundreds Page 7
NDE Methods Nondestructive Evaluation Laboratory • Acoustic Emission • Magnetic Particle • Electromagnetic • Neutron Radiography – AC Field Measurement • – Radiological Eddy Current – Remote Field – Radiography • Ground Penetrating Radar – Computed Radiography • Guided Wave – Computed Tomography • Laser – Digital Radiography – Profilometry – • Holography/Shearography Thermal/Infrared • Leak Testing • Ultrasonics – Bubble Testing – Time of Flight Diffraction – Pressure Change – – Halogen Diode Phased Array – Mass Spectrometer • Vibration Analysis • Liquid Penetrant • Visual • Magnetic Flux Leakage Page 8
The Most Common Methods Nondestructive Evaluation Laboratory • Visual (VT) • Liquid Penetrant (PT) • Magnetic Particle (MT) • Eddy Current (ET) • Ultrasonic (UT) – Phased Array (PAUT) • Radiographic (RT) Page 9
Visual Inspection Nondestructive Evaluation Laboratory • Most basic and common inspection method used for detection of flaws visible on the surface of a part • Tools include borescopes, magnifying glasses, mirrors, and video cameras Page 10
SAFER Welded Tubing Visual Inspection Nondestructive Evaluation Laboratory Tubing weld Page 11
Dye Penetrant Testing Nondestructive Evaluation Laboratory • Used for detection of flaws that are open or connected to the surface of a nonporous metal or nonmetal part • Basic Process Steps Apply Penetrant 1. Clean the part Remove Excess 2. Apply penetrant 3. Allow the penetrant to dwell for a minimum of 10 minutes 4. Remove excess penetrant from the surface of the part 5. Dry the part Develop 6. Apply developer 7. Examine the part for indications a minimum of 10 minutes and a maximum of 60 minutes after the developer is applied • Process details vary depending on the penetrant materials and equipment that are used. Page 12
Dye Penetrant Testing Nondestructive Evaluation Laboratory Page 13
Dye Penetrant Testing Nondestructive Evaluation Laboratory Excessive Background Fluorescence Ideal Background Fluorescence Fatigue crack indications Page 14
Magnetic Particle Testing Nondestructive Evaluation Laboratory • Used for detection of surface or slightly subsurface flaws in ferromagnetic materials • The part is magnetized ; AC or DC, circular or longitudinal • Finely milled iron particles coated with a dye are applied to the part • The particles are attracted to magnetic flux leakage fields and will cluster to form a visible indication directly over the discontinuity • Flaws are difficult to detect when they make an angle of less than 45 ° to the direction of magnetization – For this reason, parts are normally magnetized in at least two perpendicular directions Page 15
Magnetic Particle Testing Nondestructive Evaluation Laboratory • Verification of appropriate magnetic field direction and strength is vital – The tangential field strength measured at the part surface should be a minimum of 30 Gauss (3 mT) • Four commonly used methods: – Flexible laminated strip (field direction only) – Pie gauge (field direction only) – Notched shims (QQI) – Hall effect probe (gauss meter) • Cannot depend on the formulas – they’re only meant for simple part geometries – Fields in complex parts can cancel each other out! • A QQI or gauss meter are the only reliable methods Page 16
Portable Magnetic Particle Inspection Kit Nondestructive Evaluation Laboratory Page 17
Eddy Current Testing Nondestructive Evaluation Laboratory • Air Sound Defective Used for detection of surface and subsurface flaws in electrically material material conductive materials • An AC current is passed through a wire coil producing a primary alternating magnetic field around the Lift-Off coil • When the primary magnetic field Conductive Material intersects a conductive material, oscillating eddy currents are induced in the material • The eddy currents produce a secondary magnetic field which interacts with the primary field and changes the coil’s impedance Air • Flaws will disrupt the flow of eddy currents which in turn disrupts the Crack secondary magnetic field and ultimately the coil’s impedance Lift-off Sound material Resistance, R Page 18
Eddy Current Testing Nondestructive Evaluation Laboratory Bolt Thread Inspection Bolt Hole Inspection Eye Bolt Thread Inspection Page 19
Eddy Current Testing Nondestructive Evaluation Laboratory NDE Laboratory Scanners and Probes Bolt Scanner “Nut” Type Bolt Probe Bolt Hole Scanner Array Probes Page 20
Eddy Current Testing Nondestructive Evaluation Laboratory UniWest ECS-3 Rotating Scanner • Russian ISS Pressure Wall (Aluminum; 0.0625” skin thickness; 0.438” rib thickness) • 12 kHz test frequency • 0.1” long x 0.020” deep backside EDM notches in the skin Page 21
Recommend
More recommend
Explore More Topics
Stay informed with curated content and fresh updates.
