ENHANCEMENT OF COMPOSITE-METAL ADHESION STRENGTH BY MICRO-PATTERNING - PDF document
18 TH INTERNATIONAL CONFERENCE ON COMPOSITE MATERIALS ENHANCEMENT OF COMPOSITE-METAL ADHESION STRENGTH BY MICRO-PATTERNING OF METAL SURFACES W.S. Kim 1 , D.S. Hwang 1 , C.J. Jang 2 , J.J. Lee 2 * 1 Satellite structure department, Korea Aerospace
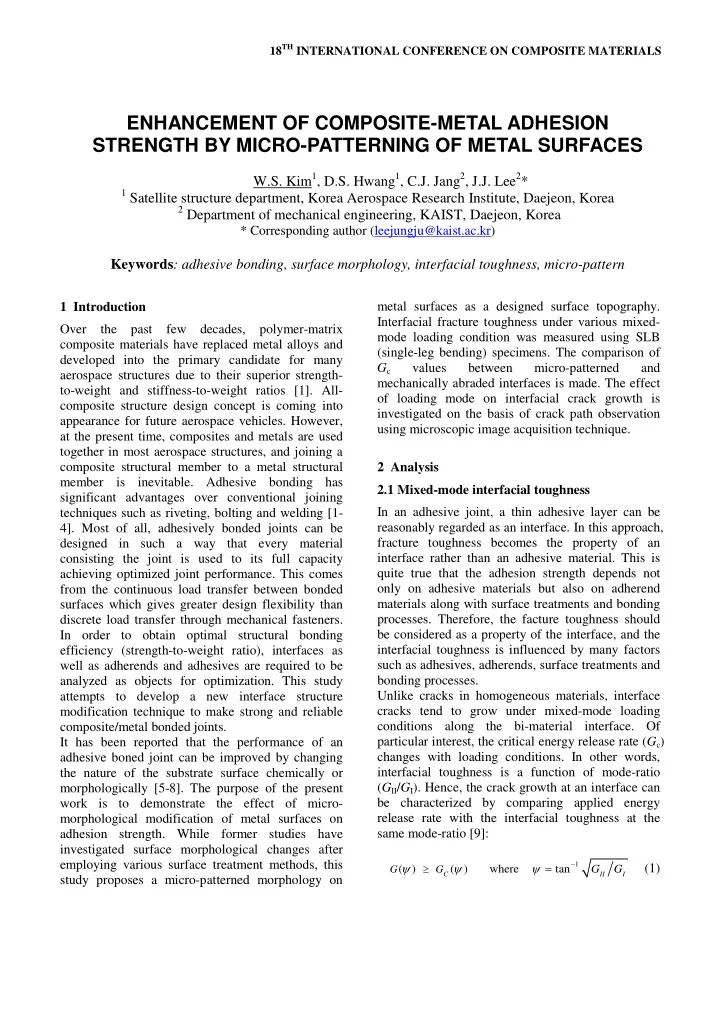
18 TH INTERNATIONAL CONFERENCE ON COMPOSITE MATERIALS ENHANCEMENT OF COMPOSITE-METAL ADHESION STRENGTH BY MICRO-PATTERNING OF METAL SURFACES W.S. Kim 1 , D.S. Hwang 1 , C.J. Jang 2 , J.J. Lee 2 * 1 Satellite structure department, Korea Aerospace Research Institute, Daejeon, Korea 2 Department of mechanical engineering, KAIST, Daejeon, Korea * Corresponding author (leejungju@kaist.ac.kr) Keywords : adhesive bonding, surface morphology, interfacial toughness, micro-pattern 1 Introduction metal surfaces as a designed surface topography. Interfacial fracture toughness under various mixed- Over the past few decades, polymer-matrix mode loading condition was measured using SLB composite materials have replaced metal alloys and (single-leg bending) specimens. The comparison of developed into the primary candidate for many G c values between micro-patterned and aerospace structures due to their superior strength- mechanically abraded interfaces is made. The effect to-weight and stiffness-to-weight ratios [1]. All- of loading mode on interfacial crack growth is composite structure design concept is coming into investigated on the basis of crack path observation appearance for future aerospace vehicles. However, using microscopic image acquisition technique. at the present time, composites and metals are used together in most aerospace structures, and joining a composite structural member to a metal structural 2 Analysis member is inevitable. Adhesive bonding has 2.1 Mixed-mode interfacial toughness significant advantages over conventional joining techniques such as riveting, bolting and welding [1- In an adhesive joint, a thin adhesive layer can be reasonably regarded as an interface. In this approach, 4]. Most of all, adhesively bonded joints can be fracture toughness becomes the property of an designed in such a way that every material consisting the joint is used to its full capacity interface rather than an adhesive material. This is quite true that the adhesion strength depends not achieving optimized joint performance. This comes only on adhesive materials but also on adherend from the continuous load transfer between bonded surfaces which gives greater design flexibility than materials along with surface treatments and bonding processes. Therefore, the facture toughness should discrete load transfer through mechanical fasteners. In order to obtain optimal structural bonding be considered as a property of the interface, and the interfacial toughness is influenced by many factors efficiency (strength-to-weight ratio), interfaces as such as adhesives, adherends, surface treatments and well as adherends and adhesives are required to be analyzed as objects for optimization. This study bonding processes. Unlike cracks in homogeneous materials, interface attempts to develop a new interface structure cracks tend to grow under mixed-mode loading modification technique to make strong and reliable composite/metal bonded joints. conditions along the bi-material interface. Of particular interest, the critical energy release rate ( G c ) It has been reported that the performance of an changes with loading conditions. In other words, adhesive boned joint can be improved by changing the nature of the substrate surface chemically or interfacial toughness is a function of mode-ratio ( G II / G I ). Hence, the crack growth at an interface can morphologically [5-8]. The purpose of the present work is to demonstrate the effect of micro- be characterized by comparing applied energy morphological modification of metal surfaces on release rate with the interfacial toughness at the same mode-ratio [9]: adhesion strength. While former studies have investigated surface morphological changes after employing various surface treatment methods, this − ψ ψ ψ = ≥ 1 (1) ( ) ( ) where tan G G G G C II I study proposes a micro-patterned morphology on
where α and β are constants that should be Since the failure criterion (Eq. (1)) can be applied to any adhesively bonded system regardless of joint determined experimentally. In this way of = geometry, interfacial toughness ( G c ) is the most normalization, relationship can be unified C f a ( ) excellent representative of adhesion strength. regardless of the upper beam thickness ( t 1 ), which will be varied to control the mode-ratio. Thus, substituting Eq. (3) into Eq. (2), interfacial 2.2 Compliance calibration method toughness can be calculated by measuring the crack A bi-material SLB test, which provides various on-set load ( P c ) as : mixed-mode loading condition [10], was employed to measure the interfacial toughness of a ( ) 2 3 2 E BC 3 P 1 = c (4) composite/steel bond. Figure 1 shows a schematic G c α 2 t B E 1 1 diagram of the test. The dimensions of the specimens were miniaturized due to the technical When dissimilar materials are bonded at high difficulty of micro-patterning on a large area. Micro- temperature, the mismatch of thermal expansion patterns were located at the uncracked ligament of coefficients induces thermal residual stresses. 5mm (from the initial crack tip to the loading point). Therefore, residual stress induced energy release rate ( G T ) should be included in the total energy release P δ , rate as in Eq. (5). a = 12.5 Composite (CFRP) E 1 , α 1 t = + + 1 G G G G (5) Metal (Steel) E 2 , α 2 t = T int mech 1 2 where G int is another term resulted from thermal and 17.5 17.5 mechanical load interaction. Nairn [15] calculated All dimension are mm, Specimen width : B = 5 the two additional terms in a SLB test specimen Fig. 1. Schematic representation of the SLB test. based on beam theory and linear elastic fracture mechanics as below. Most standard data reduction schemes to obtain the ( ) critical energy release rate ( G c ) recommends the ∆ α 2 ∆ 2 + λ 3 E t T 1 R 11 1 = (6) compliance calibration method [11-13]. The ( ) G ( ) T ( ) 2 1 + λ + λ + λ + λ R 4 6 4 R compliance calibration method is based on the Irwin-Kies equation [14] ( ) ( ) ∆ ∆ α λ 2 + λ 3 Pa T R 1 2 = P dC (7) G ( ) = c int ( ) G (2) ( ) c + λ + λ + λ + λ 2 B da Bt 1 R 4 6 4 R 1 where P c represents the critical (crack on-set) load, B where Δ α = α 1 - α 2 , R = E 1 / E 2 , λ = t 1 / t 2 . In the present the specimen width and C = δ / P , the compliance. work, interfacial toughness was measured using = Instead of using beam theory to derive the ( ) C f a compliance calibration method, and thermal residual relationship, experimental determination of the stress effect was also considered using Nairn [15]’s relationship between compliance and crack length analysis result (Eqs. (6) and (7)). enables the consideration of bending and shear effects near the crack tip. The compliance and crack length was normalized as E 1 BC and a / t 1 respectively, 2.3 Mode decomposition = and the usual form of relationship, C f a ( ) The total energy release rate, G = G I +G II , was = + ∆ 3 ( ) , was reconstructed as : C k a a decomposed by decomposing the 3-point bending load applied to the crack tip of a SLB specimen into pure opening and pure sliding mode loadings as ( ) a 1 3 = α + β (3) E BC 1 shown in Fig. 2. t 1
Recommend
More recommend
Explore More Topics
Stay informed with curated content and fresh updates.

