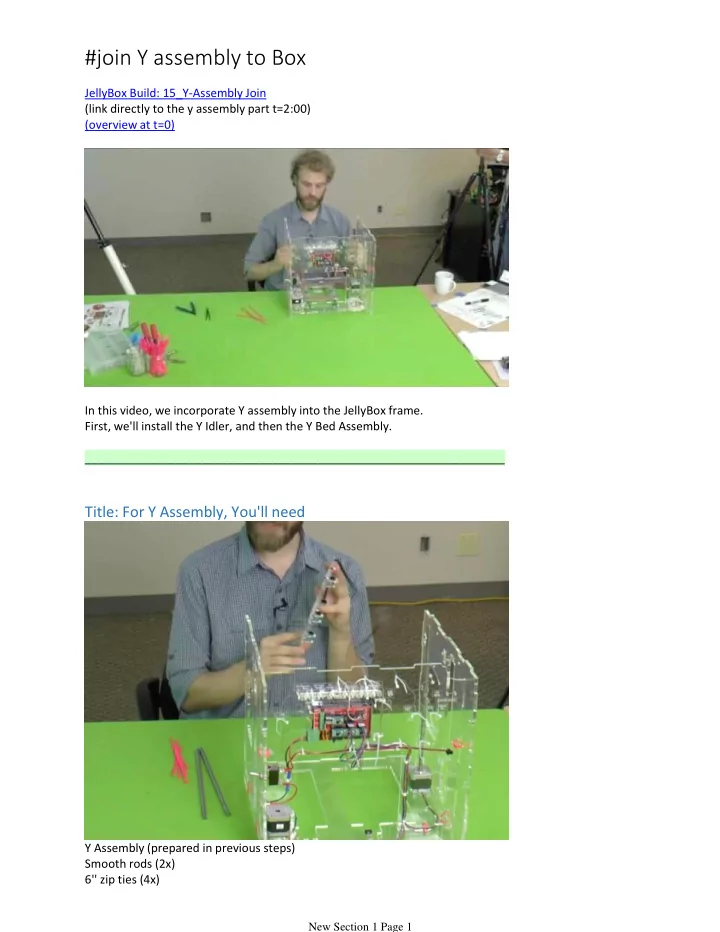

#join Y assembly to Box JellyBox Build: 15_Y-Assembly Join (link directly to the y assembly part t=2:00) (overview at t=0) In this video, we incorporate Y assembly into the JellyBox frame. First, we'll install the Y Idler, and then the Y Bed Assembly. _________________________________________________________________ Title: For Y Assembly, You'll need Y Assembly (prepared in previous steps) Smooth rods (2x) 6'' zip ties (4x) New Section 1 Page 1
Thread the smooth rods through the bearings on the Y Assembly. Careful not to knock out any of the balls in the bearings. New Section 1 Page 2
Insert the Y Assembly rods into slot in the bottom acrylic piece. The belt should be on the right side. Use 6'' zip ties to secure the rods to the Bottom piece. There are two zip ties in front, and two in the back. Make sure to keep the heads of the zip ties on the underside of the Bottom piece. Clip the zip ties. You'll find it easier if you flip the printer to expose the bottom. Title: Y Belt New Section 1 Page 3
New Section 1 Page 4
Thread the belt loop through a rectangular hole in the Inner Back and around the Y Motor pulley. Tweezers or another tool can be very helpful the get the belt through the hole in inner back and around the pulley! Then, swing the belt loop around the Y Idler in front. Don't worry about the belt tension. It will be adjusted much later in the process. Title: Y Assembly Checkpoint Make sure the Y Assembly moves smoothly back and forth. New Section 1 Page 5
Make sure that the Y EndStop in the back of the Bottom piece gets engaged by one of the Y Assembly bearings! (Otherwise the JellyBox would not know where the Y Homing position is.) New Section 1 Page 6
Recommend
More recommend