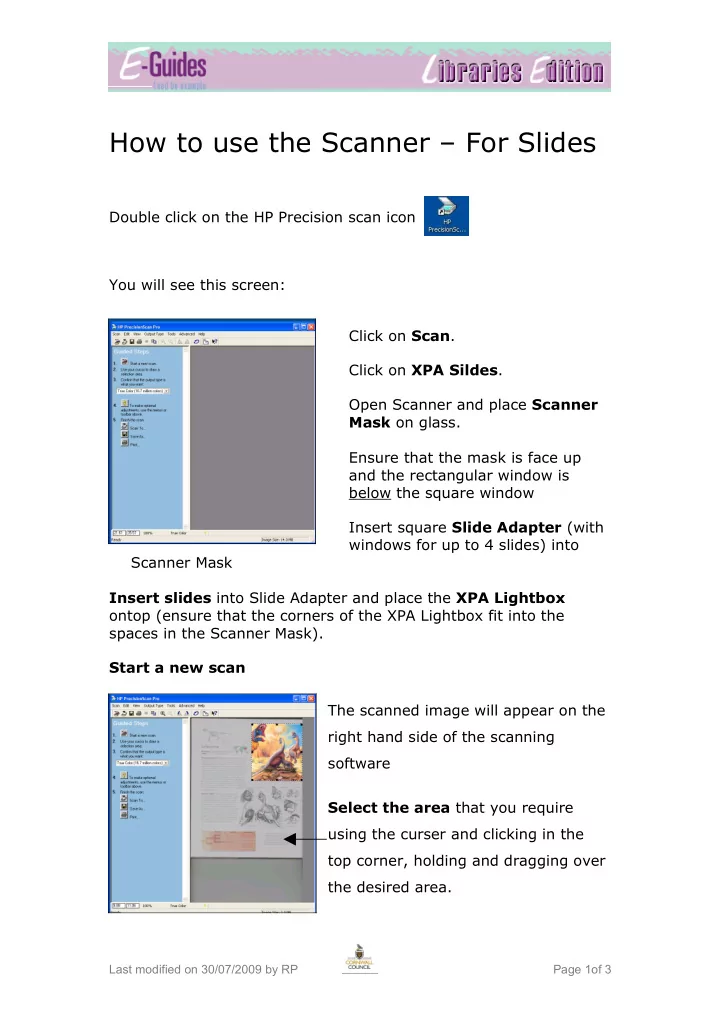

How to use the Scanner – For Slides Double click on the HP Precision scan icon You will see this screen: Click on Scan . Click on XPA Sildes . Open Scanner and place Scanner Mask on glass. Ensure that the mask is face up and the rectangular window is below the square window Insert square Slide Adapter (with windows for up to 4 slides) into Scanner Mask Insert slides into Slide Adapter and place the XPA Lightbox ontop (ensure that the corners of the XPA Lightbox fit into the spaces in the Scanner Mask). Start a new scan The scanned image will appear on the right hand side of the scanning software Select the area that you require using the curser and clicking in the top corner, holding and dragging over the desired area. Last modified on 30/07/2009 by RP Page 1of 3
Ensure that True Colour (16.7 million colours) is selected for the output type. Decide what you want to do with the final image, select from Scan to, Save as, Print. Your Options are: Scan to : use the image in another software package, i.e. Microsoft Word/Publisher. If you want to scan to another application click on Scan to and select the software application you require - click on the arrow to view full list. Click Scan . Save As : If you want to save the image on a CD or floppy disk, click on Save as and choose where you want the image to be saved - click on the arrow to view full list. Type in a filename and then click Save . Last modified on 30/07/2009 by RP Page 2of 3
Print : If you want the document to Print exactly as on screen click on Print . Select the printer you require by clicking on the arrow to display the full list. Last modified on 30/07/2009 by RP Page 3of 3
Recommend
More recommend