Evaluation of Mechanical Properties of Additive-Manufactured - PDF document
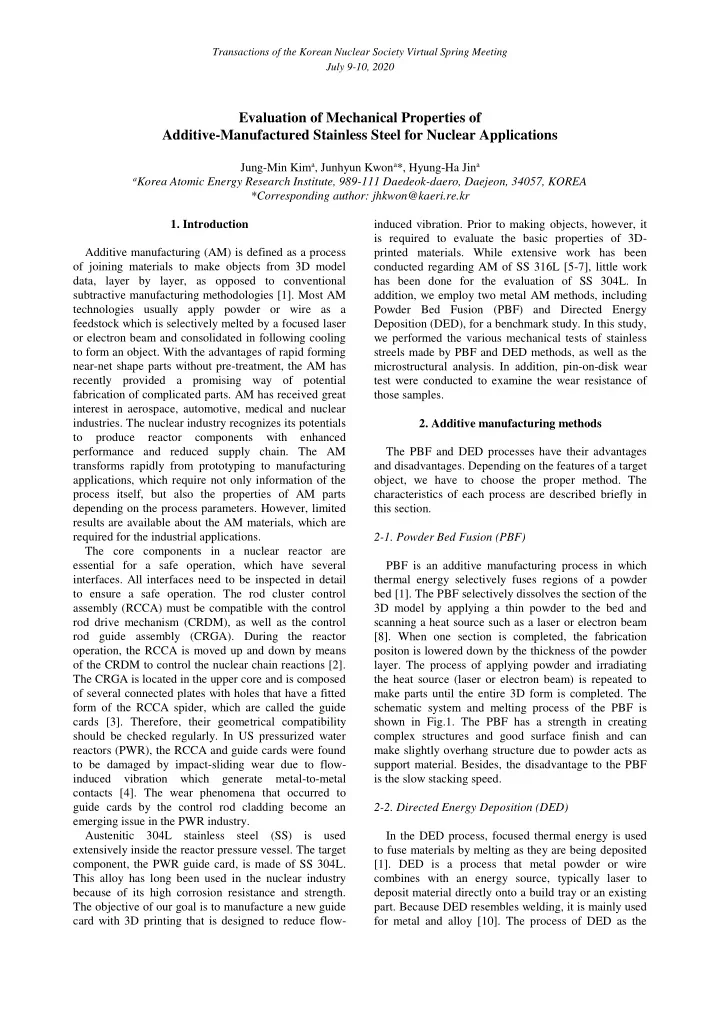
Transactions of the Korean Nuclear Society Virtual Spring Meeting July 9-10, 2020 Evaluation of Mechanical Properties of Additive-Manufactured Stainless Steel for Nuclear Applications Jung-Min Kim a , Junhyun Kwon a *, Hyung-Ha Jin a a Korea
Transactions of the Korean Nuclear Society Virtual Spring Meeting July 9-10, 2020 Evaluation of Mechanical Properties of Additive-Manufactured Stainless Steel for Nuclear Applications Jung-Min Kim a , Junhyun Kwon a *, Hyung-Ha Jin a a Korea Atomic Energy Research Institute, 989-111 Daedeok-daero, Daejeon, 34057, KOREA *Corresponding author: jhkwon@kaeri.re.kr 1. Introduction induced vibration. Prior to making objects, however, it is required to evaluate the basic properties of 3D- Additive manufacturing (AM) is defined as a process printed materials. While extensive work has been of joining materials to make objects from 3D model conducted regarding AM of SS 316L [5-7], little work data, layer by layer, as opposed to conventional has been done for the evaluation of SS 304L. In subtractive manufacturing methodologies [1]. Most AM addition, we employ two metal AM methods, including technologies usually apply powder or wire as a Powder Bed Fusion (PBF) and Directed Energy feedstock which is selectively melted by a focused laser Deposition (DED), for a benchmark study. In this study, or electron beam and consolidated in following cooling we performed the various mechanical tests of stainless to form an object. With the advantages of rapid forming streels made by PBF and DED methods, as well as the near-net shape parts without pre-treatment, the AM has microstructural analysis. In addition, pin-on-disk wear recently provided a promising way of potential test were conducted to examine the wear resistance of fabrication of complicated parts. AM has received great those samples. interest in aerospace, automotive, medical and nuclear industries. The nuclear industry recognizes its potentials 2. Additive manufacturing methods to produce reactor components with enhanced performance and reduced supply chain. The AM The PBF and DED processes have their advantages transforms rapidly from prototyping to manufacturing and disadvantages. Depending on the features of a target applications, which require not only information of the object, we have to choose the proper method. The process itself, but also the properties of AM parts characteristics of each process are described briefly in depending on the process parameters. However, limited this section. results are available about the AM materials, which are required for the industrial applications. 2-1. Powder Bed Fusion (PBF) The core components in a nuclear reactor are essential for a safe operation, which have several PBF is an additive manufacturing process in which interfaces. All interfaces need to be inspected in detail thermal energy selectively fuses regions of a powder to ensure a safe operation. The rod cluster control bed [1]. The PBF selectively dissolves the section of the assembly (RCCA) must be compatible with the control 3D model by applying a thin powder to the bed and rod drive mechanism (CRDM), as well as the control scanning a heat source such as a laser or electron beam rod guide assembly (CRGA). During the reactor [8]. When one section is completed, the fabrication operation, the RCCA is moved up and down by means positon is lowered down by the thickness of the powder of the CRDM to control the nuclear chain reactions [2]. layer. The process of applying powder and irradiating The CRGA is located in the upper core and is composed the heat source (laser or electron beam) is repeated to of several connected plates with holes that have a fitted make parts until the entire 3D form is completed. The form of the RCCA spider, which are called the guide schematic system and melting process of the PBF is cards [3]. Therefore, their geometrical compatibility shown in Fig.1. The PBF has a strength in creating should be checked regularly. In US pressurized water complex structures and good surface finish and can reactors (PWR), the RCCA and guide cards were found make slightly overhang structure due to powder acts as to be damaged by impact-sliding wear due to flow- support material. Besides, the disadvantage to the PBF induced vibration which generate metal-to-metal is the slow stacking speed. contacts [4]. The wear phenomena that occurred to guide cards by the control rod cladding become an 2-2. Directed Energy Deposition (DED) emerging issue in the PWR industry. Austenitic 304L stainless steel (SS) is used In the DED process, focused thermal energy is used extensively inside the reactor pressure vessel. The target to fuse materials by melting as they are being deposited component, the PWR guide card, is made of SS 304L. [1]. DED is a process that metal powder or wire This alloy has long been used in the nuclear industry combines with an energy source, typically laser to because of its high corrosion resistance and strength. deposit material directly onto a build tray or an existing The objective of our goal is to manufacture a new guide part. Because DED resembles welding, it is mainly used card with 3D printing that is designed to reduce flow- for metal and alloy [10]. The process of DED as the
Transactions of the Korean Nuclear Society Virtual Spring Meeting July 9-10, 2020 150 µ m. The specimens were manufactured using a nozzle moving along the path is shown in Fig.2. Due to the nozzle of DED machine attached on a multi axis arm, DED machine MX-400 (InssTek, Korea). The process DED can move freely in multiple directions, which conditions are: feed rates of 2.5 to 3.0 g/min, laser makes DED applicable to large parts and effective for power of 450 W and scan speed 14.2 mm/s. repairing and adding features. The disadvantages of the SS 304L PBF and DED specimens were prepared for DED are that the surface condition of the manufactured microstructural observation by wet grounding with SiC parts is coarse and the resolution is low. Also the DED papers followed by vibratory-polishing. Microstructure process cannot make overhang structure without was assessed by an optical microscope connected to a supports [10]. computer for the pore analysis. And Electron backscattered diffraction (EBSD) patterns were obtained using an EBSD detector from EDAX mounted on a JSM-7200F scanning electron microscope (SEM) operating at an accelerating voltage of 20 kV. Microhardness measurements were performed using HM-122 Micro Hardness Tester (AKASHI, Japan) with a load of 1 kgf during 10 seconds. The measured hardness values are average of 40 indentations per sample. Then the tensile tests were performed at room temperature with strain rate of 0.005/s. The tensile specimens were extracted from the samples in a direction perpendicular to the building direction. The wear tests on AM SS 304L carried out based on the ASTM standard G99 [12], which is about method for wear testing with a pin-on-disk. The applied normal load was 30 N, and sliding velocity was kept at about 0.22 m/s. The tests were run for a sliding distance of 1.6 km at two different temperatures (25 o C, 250 o C). 4. Results 4-1. Microstructural Characterization Fig. 1. PBF process and system scheme [9]. AM samples usually exhibit an anisotropic non- equilibrium microstructure depending on the materials building direction. We observed the grain structures of SS 304L made by the PBF and DED methods. Figure 3 shows the optical microscopic (OM) images and the EBSD maps of SS 304L sample cross sections which are parallel to the building direction. Figs. 3 (a) and (c) show the OM images of the PBF and DED sample, respectively. The PBF sample has semicircular pattern with an average size of 100 µ m in diameter, which represent the melt pools. On the other hand, the DED Fig. 2. Schematics of the DED process [11]. sample has larger melt pools with 800 µ m in diameter. EBSD observation shows the grain structure of two 3. Experimental types of AM materials. From the EBSD measurement, the average grain size of PBF and DED samples was SS 304L metallic powder was prepared depending on found to be ~40 µ m and ~30 µ m, respectively, which the AM methods of PBF and DED. In the PBF process, are displayed in Figs. 3 (b) and (d). Especially, the we used spherical SS powder with an average particle EBSD image of DED sample shows a combination of size (15~ 45 µ m) supplied by ChangSung Corporation. two kind grain structure: round and fine equiaxial grains The specimens were made using a PBF machine M2 in the center of the melt pool and columnar grains (Concept Laser, US). The process conditions are as extending to boundary of the melt pool. This structure is follows; layer thickness of 30 µ m, laser a power of 180 the result of the high thermal gradient and cooling speed W and scan speed 800 mm/s. In the DED process, we associated with laser solidification process. used the SS 304L powder provided by CARPENTER, which has a distribution of particle size between 45 and
Recommend
More recommend
Explore More Topics
Stay informed with curated content and fresh updates.
