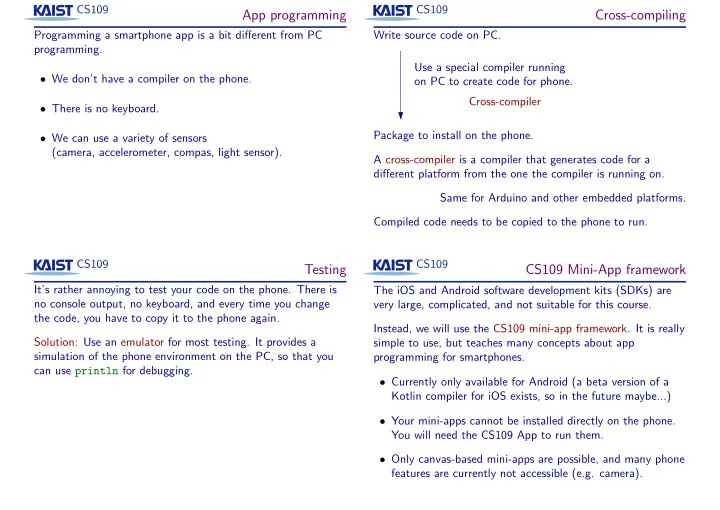

CS109 CS109 App programming Cross-compiling Programming a smartphone app is a bit different from PC Write source code on PC. programming. Use a special compiler running • We don’t have a compiler on the phone. on PC to create code for phone. Cross-compiler • There is no keyboard. Package to install on the phone. • We can use a variety of sensors (camera, accelerometer, compas, light sensor). A cross-compiler is a compiler that generates code for a different platform from the one the compiler is running on. Same for Arduino and other embedded platforms. Compiled code needs to be copied to the phone to run. CS109 CS109 Testing CS109 Mini-App framework It’s rather annoying to test your code on the phone. There is The iOS and Android software development kits (SDKs) are no console output, no keyboard, and every time you change very large, complicated, and not suitable for this course. the code, you have to copy it to the phone again. Instead, we will use the CS109 mini-app framework. It is really Solution: Use an emulator for most testing. It provides a simple to use, but teaches many concepts about app simulation of the phone environment on the PC, so that you programming for smartphones. can use println for debugging. • Currently only available for Android (a beta version of a Kotlin compiler for iOS exists, so in the future maybe...) • Your mini-apps cannot be installed directly on the phone. You will need the CS109 App to run them. • Only canvas-based mini-apps are possible, and many phone features are currently not accessible (e.g. camera).
CS109 CS109 How to compile, test, and install Security Write your source code: basic.kt Your mini-app runs on the phone hardware, just like any other Android app. It has full access to Android features (only restricted by the CS109 Cross-compile: ktc-dex basic.kt App permissions). Therefore: do not run DEX files you get from unrealiable sources using This creates two files: basic.dex (for the phone) and the CS109 App. Use the app only to run your own mini-apps. basic.jar (for the emulator). The CS109 App has very limited permissions, so not much can go wrong. Test on the emulator: kt-emulator basic.jar On the phone, install the CS109 App (search for KAIST CS109 on Play store). You need Android 4.2 or higher. Transfer basic.dex to the phone (e.g. mail it to yourself). In CS109 App, choose Load new mini-app from menu, and pick the dex file. CS109 CS109 The mini-app framework The Main class The Main class must override the onDraw method. It’s Smallest possible mini-app ( basic.kt ): purpose is to draw the graphics for the app. class Main(val ctx: Context) : MiniApp { init { The Context provides some services, for instance: ctx.setTitle("Demo #1") • setTitle to set (and change) the title of the mini-app; } • width and height to obtain the size of the screen; override fun onDraw(canvas: Canvas) { • toast to show a message; canvas.clear(Color(255, 255, 192)) • update to make sure that the screen will be drawn again; canvas.setColor(Color.BLUE) • onTap , onDoubleTap , onFling to handle finger input; canvas.setFont(48.0) • onGravity and onLight to use sensors. canvas.drawText("CS109", canvas.width / 2.0, 200.0, TextAlign.CENTER) Other Context methods (see documentation): canvas.drawCircle(canvas.width / 2.0, 400.0, • showMessage , askYesNo , inputString for dialogs; 60.0) Main , MiniApp : required names • after for animation; } • createMenu to make a menu. Context : object providing access to Android features }
CS109 CS109 Finger input — event processing Using sensors You cannot simply use waitMouse to wait patiently—you need Smartphones contain a number of sensors. Mini-apps can use light sensor (not in all phones) and accelerometer. to be prepared to handle finger taps at any time. class Main(val ctx: Context) : MiniApp { class Main(val ctx: Context) : MiniApp { var gravity = arrayOf(0.0, 0.0, 0.0) private var lastX = 0.0; private var lastY = 0.0 init { init { ctx.setTitle("Gravity sensor demo #1") ctx.setTitle("Tap and fling demo") ctx.onGravity { x, y, z -> updateGravity(x, y, z) } function object ctx.onTap { x, y -> tapped(x, y) } } } function object is called every time new sensor value is available fun tapped(x: Double, y: Double) { fun updateGravity(x: Double, y: Double, z: Double) { lastX = x; lastY = y gravity = arrayOf(x, y, z) tell system that screen needs to be drawn again ctx.update() ctx.update() } } override fun onDraw(canvas: Canvas) { canvas.clear(Color(255, 255, 192)) override fun onDraw(canvas: Canvas) { canvas.setColor(Color.BLUE) // show gravity value on screen canvas.drawCircle(lastX, lastY, 30.0) } } graphics depends on tap } }
Recommend
More recommend