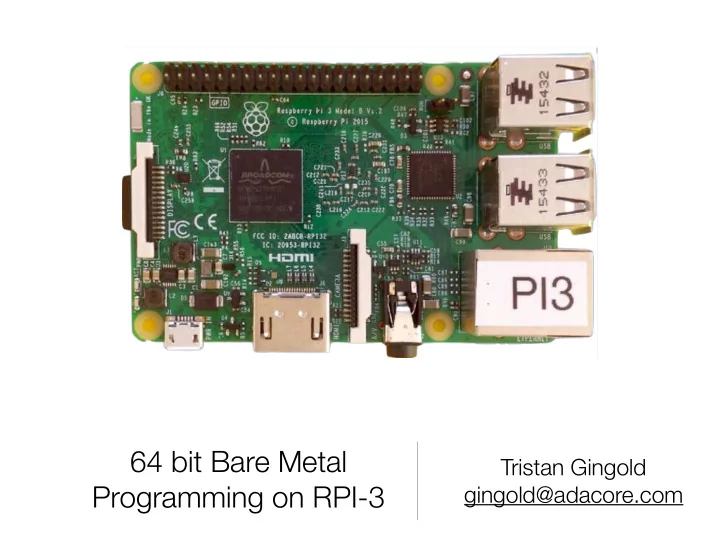

64 bit Bare Metal Tristan Gingold Programming on RPI-3 gingold@adacore.com
What is Bare Metal ? Images: Wikipedia •No box
What is Bare Metal ? No Operating System Your application is the OS
Why Bare Board ? Not enough ressources for an OS
Why Bare Board ? It’s fun (YMMV)
Why Bare Board ? To learn low-level stu ff
Why Raspberry PI-3 ? It’s popular: •Forums (https://www.raspberrypi.org/forums/ - Bare metal) •Many tutorials (like github.com/dwelch67/raspberrypi.git) •It’s safe (you cannot brick it)
Why Raspberry PI-3 ? But… It’s poorly documented: •It’s a Broadcom SOC •Data sheet of BCM2835 is available •But it’s Raspberry Pi 1 •It’s incomplete (watchdog ?) •Differences between Pi 1 and Pi 2 are (partially) documented •What about BCM2837 ? Wifi ? Bluetooth ? •Only 1 page schematic of Pi 3 (IO) •GPU is partially documented •https://www.raspberrypi.org/documentation/hardware/ raspberrypi/bcm2836/README.md
Why Raspberry PI-3 ? But…
Raspberry PI-3 Platform PI-1: ARM1176JZF PI-2: 4 * Cortex A7 PI-3: 4 * Cortex A53 (Aarch-64)
Raspberry PI Architecture Cortex A53 Local IO 0x80000000 Firmware Cortex A53 VideoCore L2 (GPU) Cortex A53 I/O 0x3f000000 Cortex A53 SDRAM 0x00000000
Raspberry PI Boot (1/2) 1. VideoCore GPU boots, Cortex cores are off 2.GPU initialise HW, load config and ELF file Cortex A53 Local IO Firmware VideoCore Cortex A53 (GPU) L2 I/O Cortex A53 SDRAM Cortex A53
Raspberry PI Boot (2/2) 3.GPU starts the cores (*) Note: Boot process is very safe - you cannot brick the board Cortex A53 Local IO Firmware VideoCore Cortex A53 (GPU) L2 I/O Cortex A53 SDRAM Cortex A53
Files on the SD Card (FAT32) • bootcode.bin First file read by the ROM. Enable SDRAM, and load… Boot loader: load start.elf • start.elf GPU firmware, load the other files and start the CPUs • config.txt configuration • fixup.dat Needed to use 1GB of memory • kernel7.img Your bare metal application (or the Linux kernel) https://github.com/raspberrypi/firmware/tree/master/boot
config.txt Start in 64 bit mode! arm_control=0x200 Load at address 0x0 kernel_old=1 disable_commandline_tags=1 Don’t write ATAGS at 0x100 https://github.com/raspberrypi/documentation/blob/master/ configuration/config-txt.md
Your First Bare Metal Program “Hello World” on the console You need: • A 3.3v to serial USB converter • A terminal emulator • https://github.com/gingold-adacore/rpi3-fosdem17.git
Console (Mini-UART) GND (0V) RPI Tx Serial-to-USB RPI Rx
Makefile No libc Linker map Linker script
Crt0 • C Run Time 0 • Traditional name for the entry point file (before main) • Generally written in assembly • Has to initialise the board • Simpler on RPI as the GPU does initialisation • Still have to create a C friendly environment
Crt0: Setup (before calling main) Start point (at 0x00) Keep only cpu #0 Set stack pointer Clear bss Call C main No need for more assembly
C code • Crt0 calls main() • You can execute C code • But no syscalls, you have to write your own IO code • There might be no C library (you write all the code) • Write your own drivers • Essentially writing and reading words at special addresses, with side effects • First driver on RPI3: Serial port
Main() Wait until ready Send one byte to the UART Write to the TX shift register Handle \n Send a string Next slide
UART init Defines UART init GPIO init
Linker script
What next ? • Make your own program • Write drivers • GPIO are very easy • I2C, SPI, MMC aren’t difficult • Video is easy too (mainly handled by the Firmware) • USB, Bluetooth, Wifi, Ethernet need doc • At this point it’s like an Arduino…
Performance • You must enable cache • Performances are abysmal without cache • But IO regions must not be cacheable • As IO regions have side effects • So you need to setup MMU • To mark IO regions as uncacheable • Static 1-1 tables are enough (and easy to generate)
SMP • RPI-3 has 4 cortex-A53 cores • Use multi-processors • All processors start • Use mpidr to get core number • Assign different stack to each processor • Initialise hardware only once!
Processor mode • Cores start at EL3 (Exception Level) Secure Monitor • Usually boot is handled by some firmware • Need to switch to lower EL: EL1 is OS, EL2 is hypervisor • EL0 is not recommended (user applications) • Per EL exceptions handlers • Could be used for debug (dump registers in case of crash) • See smp/ directory in the github repo for the code
Demo: ray casting • Written in Ada 2012 • (Could have been guessed from the company name) • Realtime kernel (Ada ravenscar tasking profile) • Use 4 cores • DMA-2D, Vsync interrupt • No GPU uses • ~60 fps
Demo (photo of the display)
Demo: ray casting
Recommend
More recommend