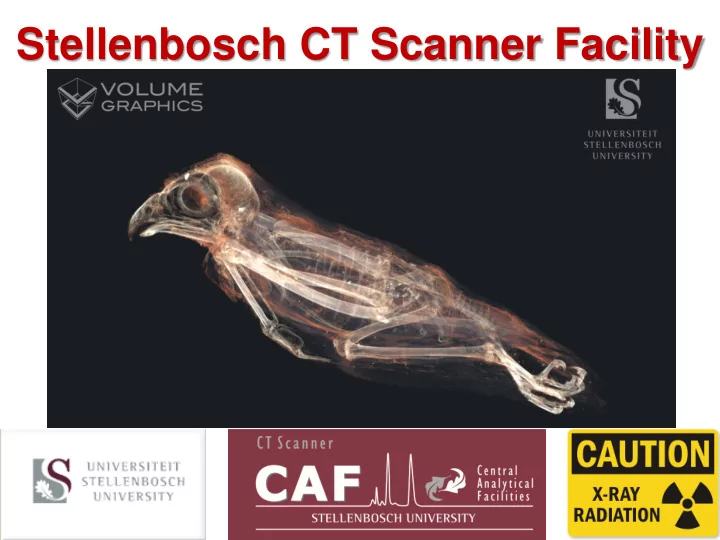

Stellenbosch CT Scanner Facility
What is CT scanning? Industrial X-ray Computed Tomography (CT) scanner Also known as microCT, X-ray tomography, microtomography, industrial CT, X-ray microscopy What is it? High resolution 3D imaging of materials using X- rays Similar to medical CT / CAT scan but − Much better resolution possible − Much more penetrating X-rays possible
What is CT scanning? X-ray micro-focus Computed Tomography (CT) A 3D imaging technique for industrial and scientific applications 2D or 3D “microscopic” material inspections down to 500 nm
Industrial CT scanning Is a mature imaging method for academic applications, especially useful for: − Nondestructive analysis, time lapse imaging of samples − No sample preparation − Internal features visualized − Internal features quantified in 3D, eg. Shapes, connectivity information, etc. − Real view of samples as compared to 2D slices / surface views Widely used and mature technology in manufacturing industry, for: − Part to CAD / Part to Part comparisons (internal and external surfaces) − Accurate dimensioning, eg. Wall thickness of parts − Non-destructive defect detection − Non-destructive porosity analysis − Reverse engineering
Cast Part - Example 1
Example 1 – 2D X-ray Rotation
Example 1 – 2D microCT slice
Example 1 – 2D microCT Video
Example 1 - 3D microCT Defect analysis
Example 1 - 3D microCT Defect analysis
Example 1 - 3D microCT Defect analysis
Example 2 – Aluminium Cast
Example 2 – Defect Analysis
Example 2 – Defect Analysis
Example 2 – 3D Metrology
Example 2 – 3D Metrology
Example 2 – 3D Metrology
Faq Frequently asked questions? − Sample size determines resolution − Smaller sample, better resolution − Better resolution, better material discrimination − Can detect differences in the range of 0.1 g/cm3 − Density calibrations are possible but must be done custom each time − Maximum size: 30 cm diameter x 30 cm high samples fit in one scan, multiple scans up to samples 70 cm high x 60 cm wide possible − Sample size limited by penetration of X-rays, typically solid steel only 15-20 mm, solid rock 30-45 mm, wood 450 mm − Cut the sample if possible for best resolution and quality
Summary What do we offer? − X-ray CT Service, with results in the form of: Full volume data with free volume viewing and analysis program (~ 10 Gb) • Image slice stack (~ 500 Mb) • Selected image slices (~ 1 Mb) • Surface files for reverse engineering (~ 50 Mb) • Analysis report (word document) - advanced analysis and custom analysis for • specific samples can be developed with the client, eg. Dimension tolerance / deviation from CAD model within % / porosity Normal 2D x-rays (cheap, fast non-destructive testing at high resolution) • Pricing per hour R1250 • www.sun.ac.za/ctscanner lerouxsg@sun.ac.za
Recommend
More recommend