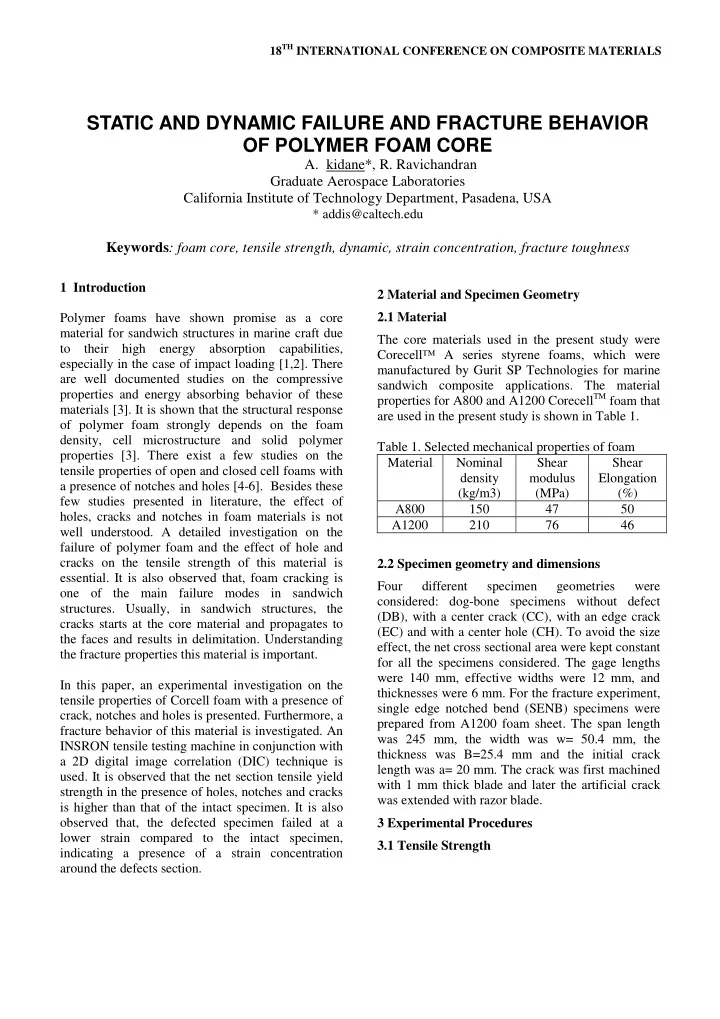

18 TH INTERNATIONAL CONFERENCE ON COMPOSITE MATERIALS STATIC AND DYNAMIC FAILURE AND FRACTURE BEHAVIOR OF POLYMER FOAM CORE A. kidane*, R. Ravichandran Graduate Aerospace Laboratories California Institute of Technology Department, Pasadena, USA * addis@caltech.edu Keywords : foam core, tensile strength, dynamic, strain concentration, fracture toughness 1 Introduction 2 Material and Specimen Geometry Polymer foams have shown promise as a core 2.1 Material material for sandwich structures in marine craft due The core materials used in the present study were to their high energy absorption capabilities, Corecell™ A series styrene foams, which were especially in the case of impact loading [1,2]. There manufactured by Gurit SP Technologies for marine are well documented studies on the compressive sandwich composite applications. The material properties and energy absorbing behavior of these properties for A800 and A1200 Corecell TM foam that materials [3]. It is shown that the structural response are used in the present study is shown in Table 1. of polymer foam strongly depends on the foam density, cell microstructure and solid polymer Table 1. Selected mechanical properties of foam properties [3]. There exist a few studies on the Nominal Shear Material Shear tensile properties of open and closed cell foams with density modulus Elongation a presence of notches and holes [4-6]. Besides these (kg/m3) (MPa) (%) few studies presented in literature, the effect of A800 150 47 50 holes, cracks and notches in foam materials is not A1200 210 76 46 well understood. A detailed investigation on the failure of polymer foam and the effect of hole and cracks on the tensile strength of this material is 2.2 Specimen geometry and dimensions essential. It is also observed that, foam cracking is Four different specimen geometries were one of the main failure modes in sandwich considered: dog-bone specimens without defect structures. Usually, in sandwich structures, the (DB), with a center crack (CC), with an edge crack cracks starts at the core material and propagates to (EC) and with a center hole (CH). To avoid the size the faces and results in delimitation. Understanding effect, the net cross sectional area were kept constant the fracture properties this material is important. for all the specimens considered. The gage lengths were 140 mm, effective widths were 12 mm, and In this paper, an experimental investigation on the thicknesses were 6 mm. For the fracture experiment, tensile properties of Corcell foam with a presence of single edge notched bend (SENB) specimens were crack, notches and holes is presented. Furthermore, a prepared from A1200 foam sheet. The span length fracture behavior of this material is investigated. An was 245 mm, the width was w= 50.4 mm, the INSRON tensile testing machine in conjunction with thickness was B=25.4 mm and the initial crack a 2D digital image correlation (DIC) technique is length was a= 20 mm. The crack was first machined used. It is observed that the net section tensile yield with 1 mm thick blade and later the artificial crack strength in the presence of holes, notches and cracks was extended with razor blade. is higher than that of the intact specimen. It is also observed that, the defected specimen failed at a 3 Experimental Procedures lower strain compared to the intact specimen, 3.1 Tensile Strength indicating a presence of a strain concentration around the defects section.
An Instron machine was used with a displacement strength, in the case of a specimen with sharp cracks, control mode at a speed of 1 mm/min and the tensile a notch and a hole, is defined as the tensile load load was recorded directly by the load cell. To divided by the remaining intact area in the section measure the strain fields around the required area, a with the defect. 2D digital image correlation (DIC) technique was A typical stress-strain curve for dog-bone specimen used. First, the displacement and strain field around is plotted in Fig. 1. the gage length were calculated and later the strains on the required field were extracted. The same 4 procedure was followed for all specimen geometries. 3.5 3.2 Fracture Behavior 3 The fracture surfaces of tensile specimens of the 2.5 polymer foam considered in this study show no Stress (MPa) evidence of gross yielding or necking. Hence the 2 foam is relatively brittle and stress intensity factor 1.5 was used as a parameter to determine the fracture behavior. There are different techniques developed 1 for determining the stress intensity factors for brittle 0.5 materials. In the present study, the stress intensity factor K I was obtained experimentally using a three 0 0 0.02 0.04 0.06 0.08 0.1 0.12 point single notched bending experiment. An Strain INSTRON machine was used in a displacement Fig 1. Stress-strain plot for Foam A 800 control mode at a cross head speed of 1mm/min and the load-displacement data was recorded directly by the load cell. Digital images of the sample at several The above plot shows a typical strain-stress plot of deformation steps were taken using a high speed polymer foam, namely, yielding followed by CCD camera. A 2D DIC technique was used to hardening and failure. In the case of specimens with obtain the displacement and strain fields. The stress defects, the failure takes place in a brittle manner intensity factor K I was calculated using three before any hardening is observed. It is also different techniques; critical load in the load- observed that, the specimens with defects show displacement curve using the linear elastic fracture a higher net section- strength compared to the mechanics theory presented by Eq.(1), the stress intact specimen as shown in Fig 2. This could intensity factor formulation using a single strain data be due to the relocation of failure from the weak point with a three parameter solution described by plane in the case of cracks with defects. On the Dally and Sanford [7] and the modified multipoint other hand the failure strain decrease in the case strain method presented by Berger and Dally [8]. of specimen with defects compared to specimen without defect as shown in Fig 3. 3 1 5 7 9 PS a 2 a 2 a 2 a 2 a 2 = − + − + K I 2 . 9 4 . 6 21 . 8 37 . 6 38 . 7 3 W W W W W BW 2 Eq(1) Where P is the critical load, a is the crack length, B is the thickness, W is the width, and S is the span. 4 Results and Discussions 4.1 Tensile Strength The measured tensile load was used to calculate the tensile strength and the average of strains along the defect section obtained from the DIC was used to calculate the corresponding strain. The net section
STATIC AND DYNAMIC FAILURE AND FRACTURE BEHAVIOR OF POLYMER FOAM CORE 350 5 300 1/2 ) Net-section Strength (MPa m 4 250 200 Load (N) 3 150 1.Dog-bone 100 2.Center_hole 2 3.Edge-crack 50 4.Center-crack 0 1 0 1 2 3 4 5 6 Displacement (mm) 0 0 1 2 3 4 5 Fig 4. Load displacement for three point Sample Number bend specimen of A1200 foam On the other hand, the displacement and strain fields Fig 2. Net-section strength for different around the crack tip were calculated from the type of geometry for A 800 foam acquired image using vic2D commercial software. Fig. 5 shows a typical spackled pattern of three-point 0.100 1.Dog-bone bend testing specimen, and Fig. 6 shows the strain 2.Center-hole contour around the crack before the crack 3.Edge-crack 0.075 propagates. This strain date was used to calculate Failure Strain stress intensity factor using the single point strain gage method. 0.050 0.025 0.000 1 2 3 4 Sample Number Fig 3. Failure strain for different type of geometry for A 800 foam 4.2 Stress Intensity Factor A typical load - deflection curve obtained from SENB experiment is plotted in Fig. 4. The stress intensity factor was calculated using Eq. 1 and the critical load from the load-deflection curve. The Fig 5. A typical spackled pattern of three average value of KI obtained from the critical load point bend specimen measurement is 0.55 MPa m1/2 with in an error of - 0.011 to + 0.028. 3
Recommend
More recommend