
Presentation Express Walk-Thru Guide Place your Science Explorer Presentation Express CD into the CD-ROM drive and double click on “My Computer” and then click on the drive responsible for your CD-ROM drive. Double click on your CD-ROM drive and then click on the icon that says “Setup.exe.” This will load your PowerPoint presentations. Once your PowerPoints are loaded you will see an icon appear on your desktop (or wherever you told your computer to save your PowerPoints). Double Click on the icon (see picture below). Created by Scott Skene, Ed.D.
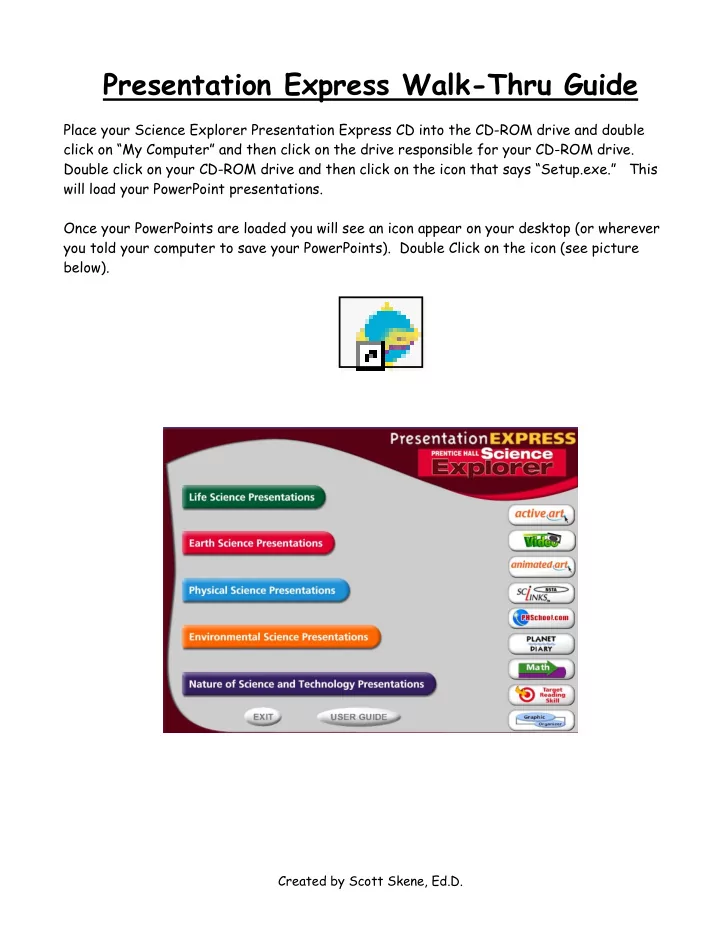
Select whether you want Life, Earth, Physical, Environmental Science or Nature of Science and Technology (see picture below). I chose Life Science (see picture below). Created by Scott Skene, Ed.D.
Select a Presentation from the list on the left and then click on “Launch Presentation” The following screen will appear. Click on “Continue” to progress into your PowerPoint Lesson Presentations (see picture below). Created by Scott Skene, Ed.D.
If you look below and to the right of each section, you will see what type of support is built into the development of each lesson. For example, for the section titled Looking Inside Cells, you will see there is an Active Art, Targeted Reading Skill and a Video. These are all embedded in the PowerPoints for that lesson. Click through the lesson and you will see each of these features. Choose your section and the PowerPoints for that section will launch Created by Scott Skene, Ed.D.
Editing Presentation Express Slides • Find your Presentation Express icon on your desktop • Right click your mouse on the Presentation Express icon • Click on “Properties” • Click on “Find Target” • Click on the yellow folder • Click on “Main” • Click on “Content” • Scroll to the bottom and pick the chapter you wish to edit • Make the changes you want • Save your changes Created by Scott Skene, Ed.D.
Recommend
More recommend