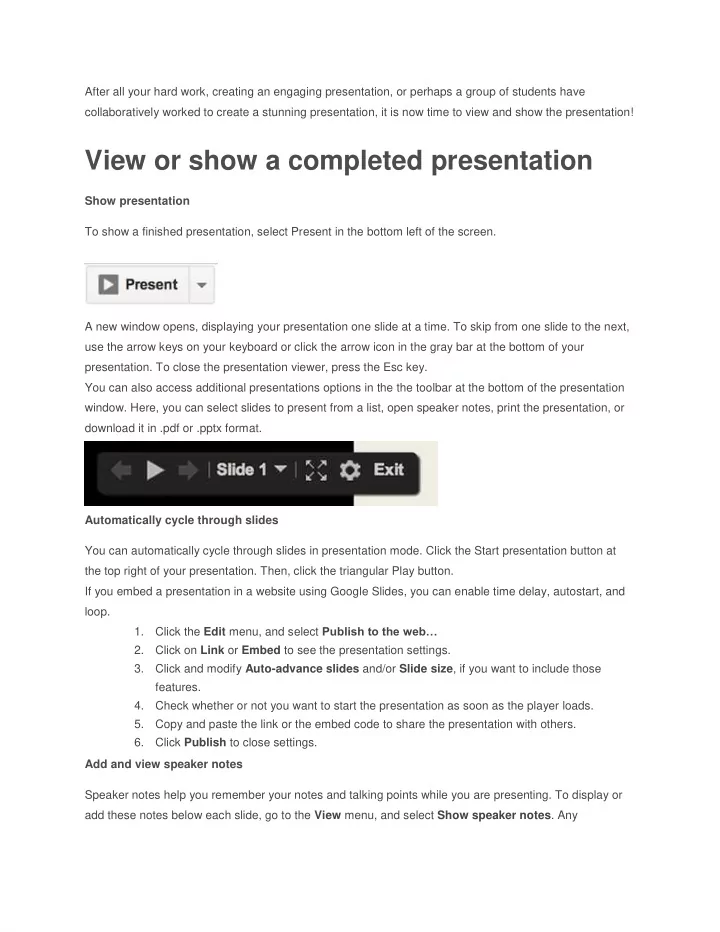

After all your hard work, creating an engaging presentation, or perhaps a group of students have collaboratively worked to create a stunning presentation, it is now time to view and show the presentation! View or show a completed presentation Show presentation To show a finished presentation, select Present in the bottom left of the screen. A new window opens, displaying your presentation one slide at a time. To skip from one slide to the next, use the arrow keys on your keyboard or click the arrow icon in the gray bar at the bottom of your presentation. To close the presentation viewer, press the Esc key. You can also access additional presentations options in the the toolbar at the bottom of the presentation window. Here, you can select slides to present from a list, open speaker notes, print the presentation, or download it in .pdf or .pptx format. Automatically cycle through slides You can automatically cycle through slides in presentation mode. Click the Start presentation button at the top right of your presentation. Then, click the triangular Play button. If you embed a presentation in a website using Google Slides, you can enable time delay, autostart, and loop. 1. Click the Edit menu, and select Publish to the web… 2. Click on Link or Embed to see the presentation settings. 3. Click and modify Auto-advance slides and/or Slide size , if you want to include those features. 4. Check whether or not you want to start the presentation as soon as the player loads. 5. Copy and paste the link or the embed code to share the presentation with others. 6. Click Publish to close settings. Add and view speaker notes Speaker notes help you remember your notes and talking points while you are presenting. To display or add these notes below each slide, go to the View menu, and select Show speaker notes . Any
presentation collaborator with view access to the presentation will be able to view these notes. Any presentation collaborator with edit access to the presentation will be able to view and edit these notes. When you are done creating your presentation and adding speaker notes, you will be able to view your completed speaker notes while in presentation mode. To view your speaker notes in presentation mode, select the gear icon in the menu in the bottom left of your presentation and select Open speaker notes . Alternately, select the down arrow next to Present at the top right of the page and choose Present with speaker notes . This opens a separate speaker notes window that allows the presenter to guide the presentation while viewing his or her notes. If you would like to keep these notes private while you are presenting, make sure that you project only the presentation slides.
Speaker notes show up in the same window as the presentation. You can always press the Esc key to close out of the speaker notes window and exit presentation mode. Use the slide drop-down menu to manually move to another slide within the presentation. Use the plus and minus buttons in the upper right to zoom in and out of the speaker notes. Use the timer on the bottom left-hand corner of the speaker notes to keep track of how much time you have spent presenting. You can pause or reset this timer by clicking the Pause and Reset buttons. HTML view HTML view displays your whole presentation in a single, scrollable HTML page, instead of displaying the presentation one slide at a time in the regular presentation view. This is a helpful feature if your audience includes people who use screen readers, and you would like to make the text more accessible to them. To access a presentation in HTML view, go to the View menu and select HTML View. Alternatively, you can use the keyboard shortcut Ctrl + Alt + H (Cmd + Option + H on a Mac).
Embed a presentation in a website To embed a presentation in a blog or website: 1. Open the presentation you would like to publish. 2. Openthe File menu. 3. Select Publish to the web... 4. Click the Start publishing button. 5. Choose the Presentation size in the drop-down menu to choose the size of your embedded presentation. 6. Copy and paste the embed code that appears into your website. Once you have embedded a presentation, others will be able to access the code and embed this presentation on additional sites by clicking the Menu button at the bottom right of the embedded presentation. Print a presentation To print a presentation in Google Slides: 1. Go to the File menu , and select Print . 2. A new window that shows a preview of your presentation and print options will open up. 3. Select Print .
If you are using a browser other than Chrome, a .pdf containing your presentation will download, which you can then print from the PDF viewer app on your computer. Print Settings and Preview If you would like to adjust the settings for your presentation before printing, then select the Print Settings and Preview link under the File menu. Some options available under this view ● Ability to select how many slides are printed on each page and whether they show speaker notes or not ● Change the print layout to portrait or landscape ● Hide the background ● Download file as .pdf You can also download this file by clicking File > Download as .
Recommend
More recommend