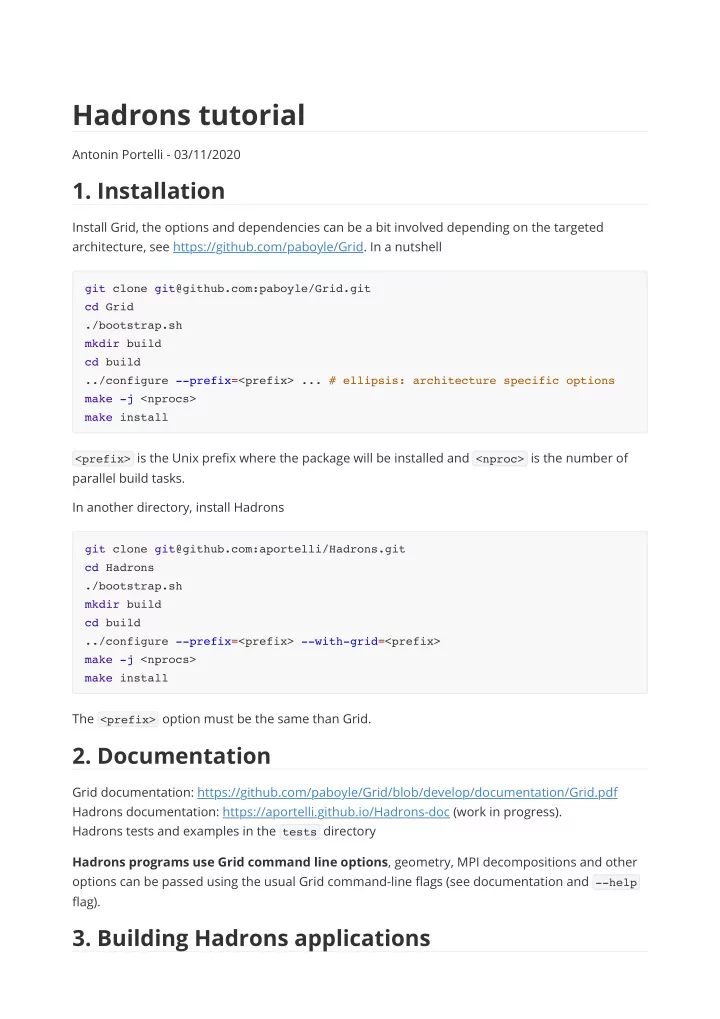

Hadrons tutorial Antonin Portelli - 03/11/2020 1. Installation Install Grid, the options and dependencies can be a bit involved depending on the targeted architecture, see https://github.com/paboyle/Grid. In a nutshell git clone git@github.com:paboyle/Grid.git cd Grid ./bootstrap.sh mkdir build cd build ../configure --prefix=<prefix> ... # ellipsis: architecture specific options make -j <nprocs> make install <prefix> is the Unix prefix where the package will be installed and <nproc> is the number of parallel build tasks. In another directory, install Hadrons git clone git@github.com:aportelli/Hadrons.git cd Hadrons ./bootstrap.sh mkdir build cd build ../configure --prefix=<prefix> --with-grid=<prefix> make -j <nprocs> make install The <prefix> option must be the same than Grid. 2. Documentation Grid documentation: https://github.com/paboyle/Grid/blob/develop/documentation/Grid.pdf Hadrons documentation: https://aportelli.github.io/Hadrons-doc (work in progress). Hadrons tests and examples in the tests directory Hadrons programs use Grid command line options , geometry, MPI decompositions and other options can be passed using the usual Grid command-line flags (see documentation and --help flag). 3. Building Hadrons applications
3.1 Using the XML interface Hadron applications can be build from a single XML file, which is then passed as an argument to the command HadronsXmlRun . Some test programs like Test_hadrons_spectrum save their application as an XML file which can provide a good source of examples. The global structure of the XML is <?xml version="1.0"?> <grid> <parameters> <!-- trajectory loop, the trajectory number is appended as a suffix --> <!-- to file read an written by modules. It is also part of the --> <!-- RNG seed. --> <trajCounter> <start>1500</start> <end>1520</end> <step>20</step> </trajCounter> <!-- DB parameters --> <database> <!-- application database (schedule, graph, object catalog, ...) --> <applicationDb>app.db</applicationDb> <!-- result database (result file catalog) --> <resultDb>results.db</resultDb> <!-- restore module graph from application DB? --> <restoreModules>false</restoreModules> <!-- restore memory profile from application DB? --> <restoreMemoryProfile>false</restoreMemoryProfile> <!-- restore schedule from application DB? --> <restoreSchedule>false</restoreSchedule> <!-- produce statistics DB? --> <makeStatDb>true</makeStatDb> </database> <!-- genetic scheduler parameters --> <genetic> <!-- population of schedules --> <popSize>20</popSize> <!-- maximum number of generations --> <maxGen>1000</maxGen> <!-- stop if memory footprint does no improve for maxCstGen generations - -> <maxCstGen>100</maxCstGen> <!-- mutation rate --> <mutationRate>0.1</mutationRate> </genetic> <!-- run id, it is part of the RNG seed --> <runId>id</runId> <!-- output GraphViz file if not empty -->
<graphFile></graphFile> <!-- output schedule file name (deprecated, use DB) --> <scheduleFile></scheduleFile> <!-- save schedule file? (deprecated, use DB) --> <saveSchedule>false</saveSchedule> <!-- Resilient IO, reread files after parallel file and try to re-write --> <!-- them if checksum test fails. parallelWriteMaxRetry is the number --> <!-- of retry after checksum failure, -1 means no check at all. --> <!-- Unless you have some suspicion your parallel FS or MPI is --> <!-- corrupting files you should probably use -1. --> <parallelWriteMaxRetry>-1</parallelWriteMaxRetry> </parameters> <modules> <!-- list of modules --> </modules> </grid> Then each module is represented by a block of the form <module> <id> <!-- module name, part of the RNG seed --> <name>module</name> <!-- module type (without Hadrons::) --> <type></type> </id> <options> <!-- module parameters, module dependent, see documentation --> </options> </module> Example: pion 2-point function with 3STOUT Möbius DWF (random gauge field) <modules> <module> <id> <name>gauge</name> <type>MGauge::Random</type> </id> <options/> </module> <module> <id> <name>pt</name> <type>MSource::Point</type> </id> <options> <position>0 0 0 0</position>
</options> </module> <module> <id> <name>smgauge</name> <type>MGauge::StoutSmearing</type> </id> <options> <gauge>gauge</gauge> <steps>3</steps> <rho>0.1</rho> </options> </module> <module> <id> <name>sink</name> <type>MSink::ScalarPoint</type> </id> <options> <mom>0 0 0</mom> </options> </module> <module> <id> <name>DWF_l</name> <type>MAction::ScaledDWF</type> </id> <options> <gauge>smgauge</gauge> <Ls>12</Ls> <mass>0.01</mass> <M5>1.8</M5> <scale>2</scale> <boundary>1 1 1 -1</boundary> <twist>0. 0. 0. 0.</twist> </options> </module> <module> <id> <name>CG_l</name> <type>MSolver::RBPrecCG</type> </id> <options> <action>DWF_l</action> <maxIteration>10000</maxIteration> <residual>1e-08</residual> <eigenPack></eigenPack> </options> </module>
<module> <id> <name>Qpt_l</name> <type>MFermion::GaugeProp</type> </id> <options> <source>pt</source> <solver>CG_l</solver> </options> </module> <module> <id> <name>meson_pt_ll</name> <type>MContraction::Meson</type> </id> <options> <q1>Qpt_l</q1> <q2>Qpt_l</q2> <gammas>all</gammas> <sink>sink</sink> <output>mesons/pt_ll</output> </options> </module> </modules> Validate (optional) HadronsXmlValidate test.xml Run the application HadronsXmlRun test.xml Have a look at the graph using dot (optional) dot -Tpdf graph.gv > graph.pdf Pros : quick to deploy, nothing to compile beyond hadrons Cons : can get really messy on large production workflows, does not support non-registered module types, does not support populating the result DB Bottom line: XML applications are good for testing or running applications saved in databases, not really recommended for production.
3.1 Using the C++ API For production it can be more robust to create an indepedent C++ program using Hadrons as a library. A template for such program is provided in the application-template folder. One can start a new application with the following sequence cp -r <Hadrons src dir>/application-template myapp cd myapp ./bootstrap.sh mkdir build cd build ../configure --with-grid=<prefix> --with-hadrons=<prefix> make <prefix> is the Grid & Hadrons installation prefix, cf. 1. The template application just create a unit gauge field, you can test it with ./my-hadrons-app ../par-example.xml You have to modify the main.cpp file to create your workflow. Again reading Hadrons test programs can be really useful. The workflow in the previous section can be coded with // gauge field application.createModule<MGauge::Random>("gauge"); MGauge::StoutSmearing::Par smPar; smPar.gauge = "gauge"; smPar.steps = 3; smPar.rho = 0.1; application.createModule<MGauge::StoutSmearing>("smgauge", smPar); // source MSource::Point::Par ptPar; ptPar.position = "0 0 0 0"; application.createModule<MSource::Point>("pt", ptPar); // sink MSink::Point::Par sinkPar; sinkPar.mom = "0 0 0"; application.createModule<MSink::ScalarPoint>("sink", sinkPar); // actions MAction::ScaledDWF::Par actionPar;
Recommend
More recommend