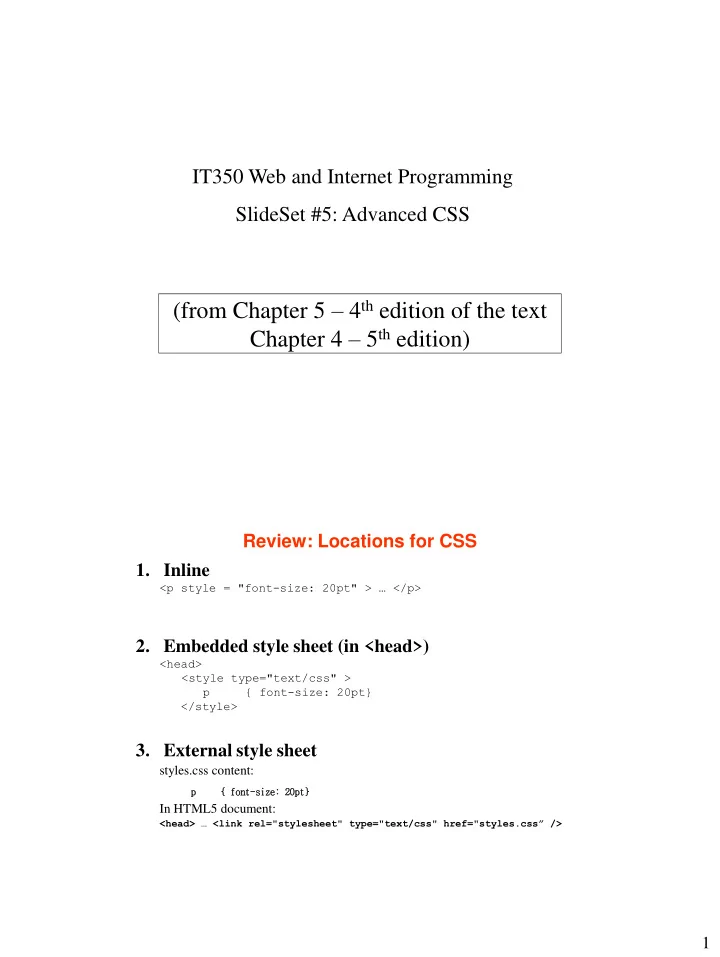

IT350 Web and Internet Programming SlideSet #5: Advanced CSS (from Chapter 5 – 4 th edition of the text Chapter 4 – 5 th edition) Review: Locations for CSS 1. Inline <p style = "font- size: 20pt" > … </p> 2. Embedded style sheet (in <head>) <head> <style type="text/css" > p { font-size: 20pt} </style> 3. External style sheet styles.css content: p { font-size: 20pt} In HTML5 document: <head> … <link rel="stylesheet" type="text/css" href="styles.css” /> 1
Cascading 101 Put the cascade in Cascading Style Sheets. <head> … <style type = “text/css”> p { color:green } </style> <link rel="stylesheet" type = “text/css” href=“blue -styles.css" /> </head> <body> <p style=“color:red”>What color am I?</p> </body> Cascading 101 • If two of the same tags – Choose the last one to be declared • If different tags, choose the more specific – p – td p – p.header – p:hover 2
Cascading 101 • What if no style is given? – Cascade (inherit) from a parent! p { font-size: 12pt } div.topbox { color:green } <div class=“topbox”> <p>I will be the div.topbox color!</p> </div> Exercise #1 • What attributes does the <p> get assigned? <style type = “text/css”> body { font-weight: bold } td { font-size: 14pt; font-color: green } .cool { font-color: red } p { font-size: 12pt } td p { text-decoration: underline; font-color: yellow } </style> <table><tr> <td><p class=“cool”>Let’s get it started</p></td> </tr></table> 3
The Box Model • Subtitle: “how to jazz up your webpage” The Box Model Examples • h1 { margin: 20px } • p { border: 3px solid black; padding: 10px } My text with 10px padding! My text with 3px padding! Fine-Grained • h1 { margin-right: 20px; margin-bottom: 10px } • h1 { margin: 20px 10px 20px 0 } 4
Exercise #2 • Write HTML5 code to simulate this with only h3 and p tags and inline CSS: This is an h3. I like being far from that h3. Does this look nicer? Give me some room. Positioning with CSS • Float – Make your element float on the left or the right – <img src=“….” style=“float:right”> 5
Positioning with CSS • Getting fancy: float all over the place • What happens with this code? <img src=“…” style=“float:left” /> <img src=“…” style=“float:left” /> <img src=“…” style=“float:left” /> Positioning with CSS • Absolute – Put an element in an exact pixel location in relation to its containing block-level element. .bgimg { position: absolute; top: 0px; left: 0px; } <body> <div><img class=“bgimg” … /></div> </body> …<div><img class=“bgimg” … /></div>… 6
The <div> Tag • Divider: <div> – Just a wrapper, similar to <body> – Divides up your page in object-oriented-like sections – Styles can easily be applied to each divider – Can be your best friend <div class=“header”> …. </div> <div class=“leftpanel”> … </div> <div class=“content”>…</div> <div class=“footer”> …</div> Exercise #3: Div tag Draw this output. <head> <style type=“text/css”> .pane { float:right; width:20%; height:600px; border:1px solid black } .header { width:75%; height:100px; border:1px solid black } .main { width:75%; height:500px; border:1px solid black } </style> </head> <body> <div class=“pane”> some content </div> <div class=“header”> the header </div> <div class=“main”> the main body </div> </body> 7
Hide and Seek: Menus • Create a drop-down menu! • Intuition : we can hide html elements from the user, and show them later • Tools – The “display” property – The “hover” pseudoclass This is the only HTML5 you need! <body> <div class=“menu”> Menu <a href=“#”>Home</a> <a href=“#”>News</a> <a href=“#”>Articles</a> <a href=“#”>Blog</a> </div> </body> 8
Recommend
More recommend