DEBOND DAMAGE ASSESSMENT IN FOAM / COMPOSITE SANDWICH STRUCTURES - PDF document
18 TH INTERNATIONAL CONFERENCE ON COMPOSITE MATERIALS DEBOND DAMAGE ASSESSMENT IN FOAM / COMPOSITE SANDWICH STRUCTURES R.K. Fruehmann 1 , J.M. Dulieu-Barton 1 *, W. Wang 1 1 Faculty of Engineering and the Environment, University of Southampton,
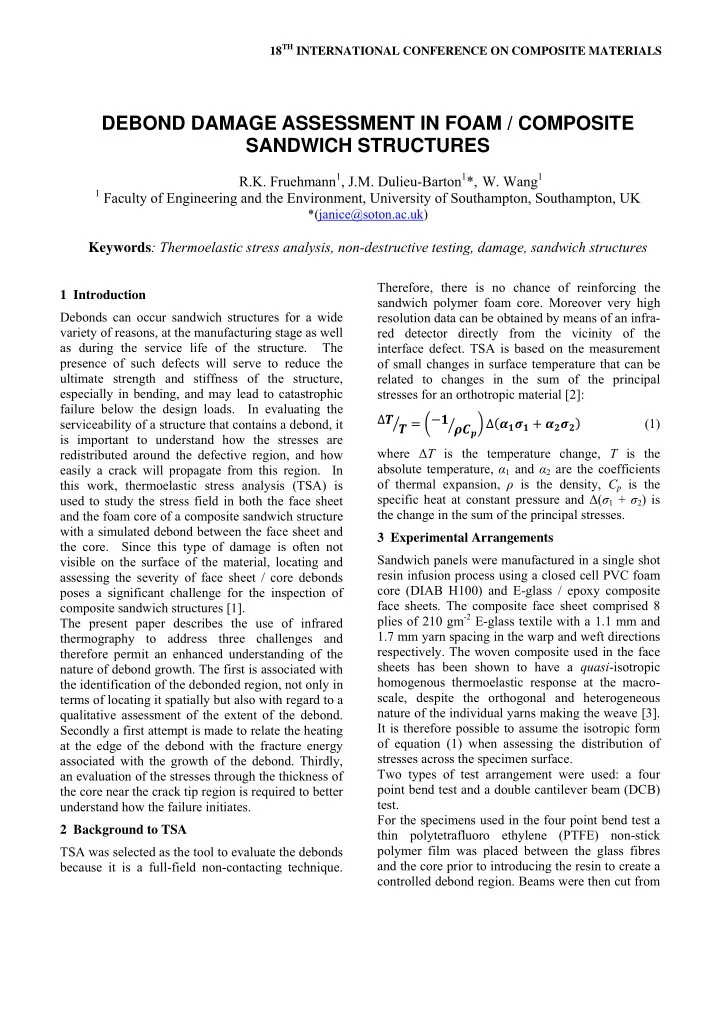
18 TH INTERNATIONAL CONFERENCE ON COMPOSITE MATERIALS DEBOND DAMAGE ASSESSMENT IN FOAM / COMPOSITE SANDWICH STRUCTURES R.K. Fruehmann 1 , J.M. Dulieu-Barton 1 *, W. Wang 1 1 Faculty of Engineering and the Environment, University of Southampton, Southampton, UK *(janice@soton.ac.uk) Keywords : Thermoelastic stress analysis, non-destructive testing, damage, sandwich structures Therefore, there is no chance of reinforcing the 1 Introduction sandwich polymer foam core. Moreover very high Debonds can occur sandwich structures for a wide resolution data can be obtained by means of an infra- variety of reasons, at the manufacturing stage as well red detector directly from the vicinity of the as during the service life of the structure. The interface defect. TSA is based on the measurement presence of such defects will serve to reduce the of small changes in surface temperature that can be ultimate strength and stiffness of the structure, related to changes in the sum of the principal especially in bending, and may lead to catastrophic stresses for an orthotropic material [2]: failure below the design loads. In evaluating the ∆� � � ��� �� � � ∆�� � � � � � � � � � � (1) serviceability of a structure that contains a debond, it � is important to understand how the stresses are where Δ T is the temperature change, T is the redistributed around the defective region, and how absolute temperature, α 1 and α 2 are the coefficients easily a crack will propagate from this region. In of thermal expansion, ρ is the density, C p is the this work, thermoelastic stress analysis (TSA) is specific heat at constant pressure and Δ ( σ 1 + σ 2 ) is used to study the stress field in both the face sheet the change in the sum of the principal stresses. and the foam core of a composite sandwich structure with a simulated debond between the face sheet and 3 Experimental Arrangements the core. Since this type of damage is often not Sandwich panels were manufactured in a single shot visible on the surface of the material, locating and resin infusion process using a closed cell PVC foam assessing the severity of face sheet / core debonds core (DIAB H100) and E-glass / epoxy composite poses a significant challenge for the inspection of face sheets. The composite face sheet comprised 8 composite sandwich structures [1]. plies of 210 gm -2 E-glass textile with a 1.1 mm and The present paper describes the use of infrared 1.7 mm yarn spacing in the warp and weft directions thermography to address three challenges and respectively. The woven composite used in the face therefore permit an enhanced understanding of the sheets has been shown to have a quasi -isotropic nature of debond growth. The first is associated with homogenous thermoelastic response at the macro- the identification of the debonded region, not only in scale, despite the orthogonal and heterogeneous terms of locating it spatially but also with regard to a nature of the individual yarns making the weave [3]. qualitative assessment of the extent of the debond. It is therefore possible to assume the isotropic form Secondly a first attempt is made to relate the heating of equation (1) when assessing the distribution of at the edge of the debond with the fracture energy stresses across the specimen surface. associated with the growth of the debond. Thirdly, Two types of test arrangement were used: a four an evaluation of the stresses through the thickness of point bend test and a double cantilever beam (DCB) the core near the crack tip region is required to better test. understand how the failure initiates. For the specimens used in the four point bend test a 2 Background to TSA thin polytetrafluoro ethylene (PTFE) non-stick polymer film was placed between the glass fibres TSA was selected as the tool to evaluate the debonds and the core prior to introducing the resin to create a because it is a full-field non-contacting technique. controlled debond region. Beams were then cut from
the panel, 400 mm long by 50 mm wide, with the core at the tip of a debonded region. The setup for seeded debond located in the centre of the beam and this is shown schematically in Fig. 2. The total spanning its full width. The samples in this work had debond length was 50 mm (the hinges were 25 mm a film thickness of 40 μ m. The results from three long) and located at one end of the beam. The different lengths of defect are presented in this work: debond was introduced in an identical manner to that 6, 12 and 18 mm. One set of beams was also made adopted for the specimens loaded in four point without the seeded damage for reference. bending. Specimens of 200 mm length and 32 mm The four point bend rig was set up as shown in Fig. width were cut from panels manufactured from the 1 with an upper span of 150 mm and a lower span of same material as used in the four point beam 350 mm. This was selected to create a region of bending test. The DCB test was conducted in an uniform compressive stress in the face sheet with the Instron E1000 (Electropuls) test machine with a 1 seeded damage. The load was introduced into the kN actuator and load cell capacity. The hinges were specimen via 12 mm diameter steel rollers. A cyclic clamped in standard mechanical grips used in tensile load was applied using an Instron 8802 servo- testing. The specimen was viewed from the side as hydraulic test machine (fitted with a 100 kN actuator in Fig. 2 with the image centred near the crack tip. and load cell) over a range of loading frequencies A spatial resolution of approximately 0.2 mm per (from 5 to 12 Hz) and amplitudes (from 0.2 to 0.4 image pixel was used for this test. kN equating to a bending moment of 20 to 40 Nm in the central region of the specimen). The infrared detector was placed approximately 350 mm from the specimen. A mirror, angled at 45° and placed above the specimen, enabled the top surface to be viewed by the detector and provided a field of view of 120 x 100 mm with a spatial resolution of approximately 0.4 mm per image pixel. Tests to failure were also conducted with a reduced Fig. 2 Experimental setup for the DCB test upper span to increase the bending moment relative to the applied load with the aim to avoid indentation failure at the loading points. Here the detector was A Cedip Silver 480M infrared detector was used to provide the full-field surface temperature via a 45° arranged to view the side of the specimen to enable the measurement of the change in temperature mirror at a frame rate of 383 Hz. The detector is associated with the heat released at failure. A higher radiometrically calibrated by the manufacturer and therefore able to provide direct temperature spatial resolution of approximately 0.3 mm per image pixel was used to provide increased detail in readings. The recorded temperature data was then the vicinity of the face sheet / core interface. processed using the commercial lock-in thermography software provided by FLIR, to provide the amplitude of the measured temperature ( Δ T ) at each point in the image [2]. Δ T is obtained relative to a reference signal from the test machine load cell to also provide a phase angle for each measurement point. Data is presented in the non- dimensional form Δ T / T . As the stress in the face sheet in both tests is nominally unidirectional, Δ T / T is directly proportional to Δ σ 1 . Therefore the quantity Δ T / T can be considered as a non- dimensional stress metric that can be used to identify Fig.1 Experimental setup for the four point bend test stress concentrations in the face sheet. A 180° phase shift between adjacent data indicates a reversal from The second part of the investigation utilised the tensile to compressive stress or vice versa . However, DCB test to investigate the stress distribution in the it is known that the foam core is orthotropic [4] and
Recommend
More recommend
Explore More Topics
Stay informed with curated content and fresh updates.
