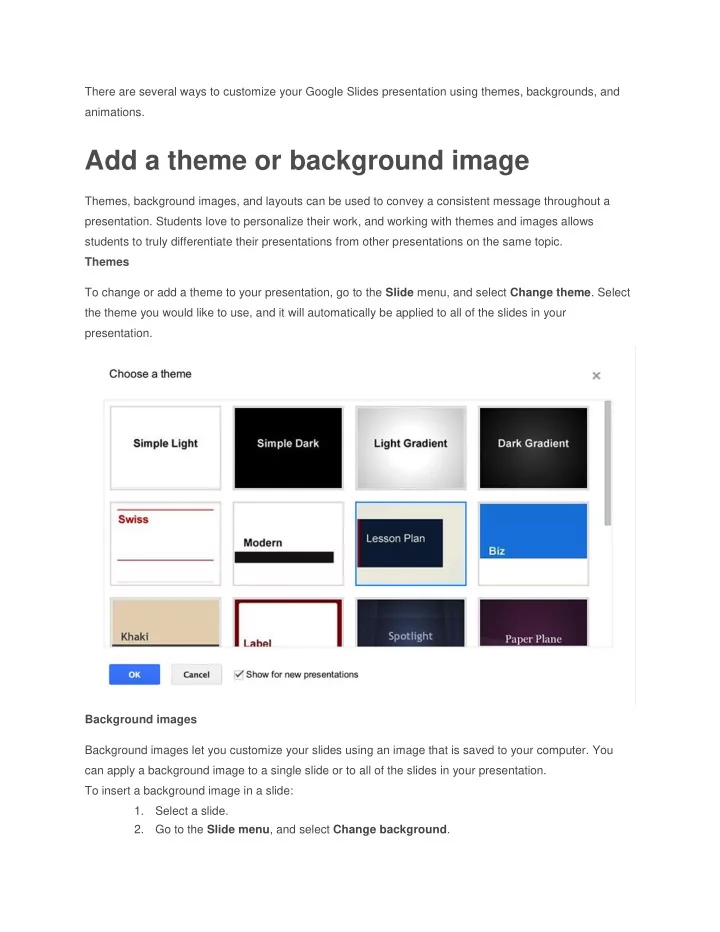

There are several ways to customize your Google Slides presentation using themes, backgrounds, and animations. Add a theme or background image Themes, background images, and layouts can be used to convey a consistent message throughout a presentation. Students love to personalize their work, and working with themes and images allows students to truly differentiate their presentations from other presentations on the same topic. Themes To change or add a theme to your presentation, go to the Slide menu, and select Change theme . Select the theme you would like to use, and it will automatically be applied to all of the slides in your presentation. Background images Background images let you customize your slides using an image that is saved to your computer. You can apply a background image to a single slide or to all of the slides in your presentation. To insert a background image in a slide: 1. Select a slide. 2. Go to the Slide menu , and select Change background .
3. 4. In the Background dialog box that appears, click the Choose button to the right of Image to select a custom image for your background. 5. 6. On the Insert image dialog, you can upload or drag an image, take a snapshot with your webcam, select an image by URL, use Google Image Search to find an image or upload images from Google Drive. 7. Once you select an image, click the Upload button. 8. When prompted, apply the background image to all of the slides in your presentation or add a background color.
9. 10. Click the Done button to finish. Add transitions and animations Adding transitions to your text or images in Google Slides is one way to make your presentation more engaging for viewers. You can also use transitions to move between slides or emphasize text. You can also reveal text or objects on a slide one step at a time, for example, revealing steps for a science lab process one at a time. You add and modify slide transitions and animations in the Animations pane. There are two ways to enable the Animations pane: ● Go to the Slide menu and select Change transition. ● ● Go to the View menu and select Animations . To add animation to text or an object: 1. Select an object on a slide, then go to the Insert menu and select Animation.
2. 3. The Animations pane is split into two levels. At the top, you will see transition options. Use the drop-down menu to select a slide transition for the selected slide. 4. 5. Move the slider to set the speed of the transition.
6. After you have selected the transition type and the speed of the transition, you will have the option to apply this transition to all slides in the presentation. 7. At the bottom, you can apply animationsto text and objects. 8. You can add as many animations to a slide as you would like, with one animation per shape. The list of animations in the Animations pane is displayed the order in which animations will take place on the slide. Once an animation is listed in the Animations pane, you can drag an animation up or down to change the order in which shapes appear or disappear on the screen. To delete animations from a shape, click Delete next to that animation entry. To test a series of animations on a slide, click the Play button.
Recommend
More recommend