Vibration Sensor VS Series: VS-1 VS-1 R VS-2 SI Text Dedicated to - PowerPoint PPT Presentation
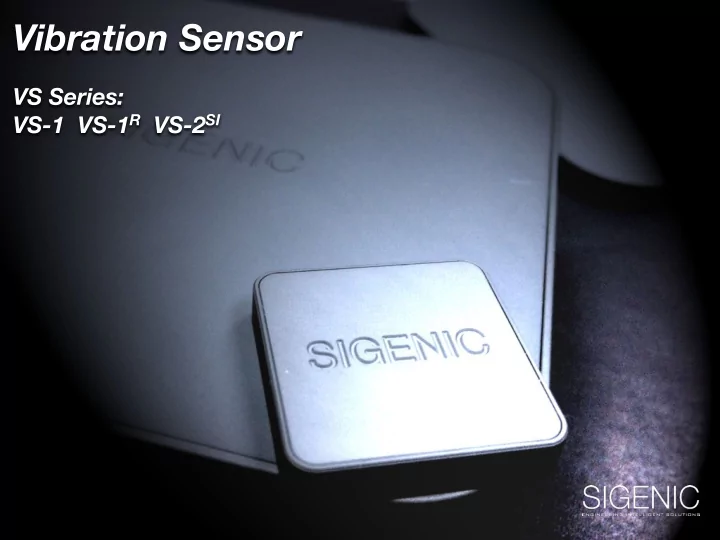
Vibration Sensor VS Series: VS-1 VS-1 R VS-2 SI Text Dedicated to Operation Safety Improving Production Yield Reducing Downtime Cost Savings Reliability of Fault Prediction Our sensors have been greatly relied on to accurately monitor
Vibration Sensor VS Series: VS-1 VS-1 R VS-2 SI Text
Dedicated to Operation Safety Improving Production Yield Reducing Downtime Cost Savings Reliability of Fault Prediction Our sensors have been greatly relied on to accurately monitor conditions of the machines in the global semiconductor industry.
Capabilities of VS The VS sensors are powerful diagnostic tools that will: • Provide advanced warning When machine conditions are deteriorating, a vibration sensor will be able to diagnose the problem, allowing engineers to take pre-emptive action and avoid catastrophic failure and loses • Monitor trends conditions by vibration Any problems arising from shaft imbalance or mechanical installation, can be seen when monitoring vibration feedback. • Detect dynamic problems Debris build-up, mechanical failure, bearing deterioration and wearing out of mechanism can all be determined and measured.
VS-1 Sensor Specification Measurement of Acceleration 3 Directions (i.e. X, Y, Z) Measurement Range + / -2g, 4g, 8g, 16g Non-Linearity 0.5% Sensitivity Change Due to 0.01% per 1 degree celsius Temperature Resolution 0.01g Output Data Rate 0.1 to 3200Hz Operating Temperature -20 to 80 degree celsius Shock Resistance 10000g Features: Compact design with user-friendly interface • Generates a high output data rate • Simple and convenient plug-n-read USB operation • Supplied in sturdy lightweight carry cases for portability •
VS-1 R Sensor Specification Measurement of Acceleration 3 Directions (i.e. X, Y, Z) Measurement Range + / -2g, 4g, 8g, 16g Non-Linearity 0.5% Sensitivity Change Due to 0.02% per 1 degree celsius Temperature Output Data Rate 200Hz / 1000Hz Operating Temperature -20 to 80 degree celsius Shock Resistance 10000g Analog Output (X, Y, Z) 0 ~ 10 VDC Features: Slim, light weight design allowing great ease during installation • on machines Real time monitoring capability of machine health condition •
VS-2 SI Sensor Specification Measurement of Acceleration 3 Directions (i.e. X, Y, Z) Measurement Range + / -2g, 4g, 8g, 16g Non-Linearity 0.5% Sensitivity Change Due to 0.02% per 1 degree celsius Temperature Output Data Rate 200Hz / 1000Hz Operating Temperature -20 to 80 degree celsius Shock Resistance 10000g Analog Output (X, Y, Z) 0 ~ 10 VDC Features: Slim and light weight • Real time monitoring capability • Vibration Stability Index , capturing the overall stability of a • complete work cycle
VS-2 SI The Real-time Cost Saving Device
Average Unscheduled DownTime Comparision 50 Unscheduled Downtime (hrs) Machines with VS-2 SI installed 42 Machines without VS-2 SI 34 26 18 10 Aug Sep Oct Nov Dec Jan Feb Mar Reduced UDT translates into: - Lesser Manpower Costs in fault finding - Higher Yield Rates - Higher Profit Margin
Micro Scratches Bad Die % (FEOL CMP STI/ILD) 0.6 0.45 SCRATCH BD% 0.3 0.15 0 APR MAY JUN JUL AUG SEP OCT NOV DEC • Micro-Scratch BD% improves by 0.131%.(From 0.528% to 0.397%) • Fab Line Yield improved by 0.131% • Translates into monthly cost saving of USD 230K from micro-scratches baseline improvement for a 50,000 output wafer fab
CMP Excursion Case PC arm collision against polishing head • Total wafer scraped : 280pcs • Estimated total cost impact : USD 980,000** Robot Arm Excursion Case- Lithography Dept. Robot position drift causing wafer collision against flange • Total wafer scraped : 120pcs (broken) • Estimated total cost impact : USD 1,500,000** With the VS-2 installed, early / immediate detection of collision issue could translate into huge cost savings. **Cost calculated includes man-power cost, up-time lost and cost of wafer and parts.
CASE STUDIES
Data logged by VS-1: FI Robot Wafer Retrieval Motion 2 3 4 1 Four main steps of the retrieval motion: 1. FI robot to ready position (pick up slot position) (Z-axis motion) 2. Robot blade extend into FOUP (X-axis motion. Plunger will retract during start of this step) 3. Robot blade pick up wafer (Z-axis motion, wafer lifted up from slot and plunger extend to hold the wafer) 4. Robot blade retract from FOUP (X-axis motion, wafer retrieval action completed )
VS-1 SubCase Study 1: Y-axis unsymmetrical motion captured during wafer retrieval action Y-axis unsymmetrical motion Observation: Y-axis unsymmetrical motion Risk: Wafer may rubbing against transfer station (FOUP or pathway) Possible Root Cause: Robot arm bearing loosen Corrective action: Down for servicing/ repair
VS-1 SubCase study 2: Worn out plunger induce double actions during holding a wafer Plunger Single action Fang Double action, undesired X vibration take place due to plunger worn out Plunger extend to hold wafer, and retract to release wafer 1. Robot plunger hold/ grip wafer during wafer transfer 2. Plunger force applied directly to the wafer edge (too high will cause wafer to break, too low might cause wafer drop during supinator) Worn out plunger induce double action during 3. Vibration behaviour during wafer gripping process can use to holding a wafer monitor plunger and robot fang condition
VS-1 SubCase study 3: Plunger actuator’s fitting broken cause abnormal vibration during wafer gripping Good Condition Faulty Condition Observation : Abnormal vibration detected when plunger was gripping a wafer Risk : Wafer drop off during transfer (supinator) due to lower gripping force Root Cause : Leakage Plunger actuator’s fitting broken Corrective action : Replace actuator fitting. Vibration behaviour back to normal
Data logged by VS-1 @ 800Hz : Pad Conditioner (PC) Arm Vibration Behaviour Z The VS-1 was deployed to detect the vibration of the PC Arm. The yellow arrow Y indicates the sweeping movement of the PC Arm Y Observation: Logged data showed Z-axis vibration Y-Axis to be high at the centre of the pad. Follow-up investigation found that the High Pressure Rinse DIW nozzle spray was weak at pad centre area (insufficient water) and increased the friction. Z-Axis This will result in low cleaning efficiency at pad centre area and induce pad glazing and micro-scratch SEM images of pore- type pad surface and issues. glazed surface of the same pad.
VS-1 R Real Time Detection: VS-1 R was installed at PC Arm • head, indicated A. Z The Z axis, which to measure • the vertical vibration behaviour , as indicated by the A red arrow. Y The Y axis, measures the left/ • right sweeping movement (horizontal vibration behaviour) , as indicated by the yellow arrow.
VS-1 R SubCase study 1: Polisher platen bearing abnormality was detected Motor torque endpoint failure issue was resolved (1 data point represent the mean value of single wafer process vibration) After platen bearing change Platen bearing starts deteriorating (1 data point represent the sigma value of single wafer process vibration) Observation: Z-axis experienced high working vibration and unstable wafer polish endpoint (motor torque) Rusty bearings caused the Root cause: unstable torque, which incurred abnormal vibration Platen bearing worn out and caused high vibration on Pad Conditioner Arm Z-axis Corrective Action: Replaced new platen bearing, vibration level back to normal baseline
VS-1 R SubCase study 2: Early detection of broken PC Arm’s flexure plate Vibration stability Z-axis experience high vibration due to pad conditioner head‘s (DDF3) flexure plate broken Observation: Z-axis vibration sigma abnormal Root cause: DDF3 flexure plate broken Corrective Action: Replaced new flexure plate, Z-axis vibration sigma back to normal baseline Fail to detect this issue may causes pad glazing and result in Broken DDF3 flexure plate wafer scrap due over polish and micro-scratch issues.
VS-2 SI SubCase study 1: STI PC DDF3 Colliding against Polishing Head Observation: PC DDF3 colliding against polishing head during process Detection Method: When PC arm collide against Polishing Head, abnormal vibration will take place. The vibration Stability Index** (black) will experience a upward spike due to abnormal vibration being introduced into the sweep cycle. ** Vibration Stability Index (SI) – an index representing the overall stability of a complete work cycle. Any abnormalities taking place during the process will be clearly captured in this index. Suspected root cause: - PC home position drift - Faulty PC sweep mechanism cause over-sweeping motion, leading to the collision of PC DDF3 and polishing head.
sigenic.com
Recommend
More recommend
Explore More Topics
Stay informed with curated content and fresh updates.
