ULTRASONICS INSPECTIONS AND CONFOCAL ULTRASONICS INSPECTIONS AND - PDF document
18 TH INTERNATIONAL CONFERENCE ON COMPOSITE MATERIALS ULTRASONICS INSPECTIONS AND CONFOCAL ULTRASONICS INSPECTIONS AND CONFOCAL MICROSCOPY TO EVALUATE FATIGUE DAMAGE IN FIBER MICROSCOPY TO EVALUATE FATIGUE DAMAGE IN FIBER REINFORCED POLYMER
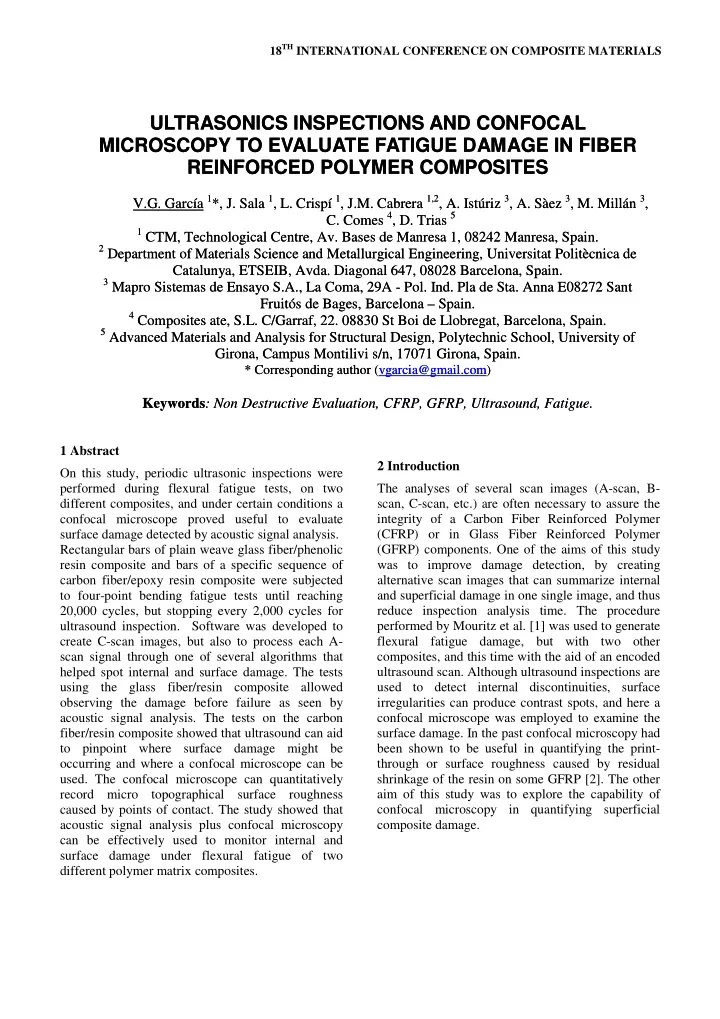
18 TH INTERNATIONAL CONFERENCE ON COMPOSITE MATERIALS ULTRASONICS INSPECTIONS AND CONFOCAL ULTRASONICS INSPECTIONS AND CONFOCAL MICROSCOPY TO EVALUATE FATIGUE DAMAGE IN FIBER MICROSCOPY TO EVALUATE FATIGUE DAMAGE IN FIBER REINFORCED POLYMER COMPOSITES REINFORCED POLYMER COMPOSITES V.G. García 1 *, J. Sala 1 , L. Crispí 1 , J.M. Cabrera 1,2 , A. Istúriz 3 , A. Sàez 3 , M. Millán 3 , V.G. García 1 *, J. Sala 1 , L. Crispí 1 , J.M. Cabrera 1,2 , A. Istúriz 3 , A. Sàez 3 , M. Millán 3 , C. Comes 4 , D. Trias 5 C. Comes 4 , D. Trias 5 1 CTM, Technological Centre, Av. Bases de Manresa 1, 08242 Manresa, Spain. 1 CTM, Technological Centre, Av. Bases de Manresa 1, 08242 Manresa, Spain. 2 Department of Materials Science and Metallurgical Engineering, Universitat Politècnica de 2 Department of Materials Science and Metallurgical Engineering, Universitat Politècnica de Catalunya, ETSEIB, Avda. Diagonal 647, 08028 Barcelona, Spain. Catalunya, ETSEIB, Avda. Diagonal 647, 08028 Barcelona, Spain. 3 Mapro Sistemas de Ensayo S.A., La Coma, 29A - Pol. Ind. Pla de Sta. Anna E08272 Sant 3 Mapro Sistemas de Ensayo S.A., La Coma, 29A - Pol. Ind. Pla de Sta. Anna E08272 Sant Fruitós de Bages, Barcelona – Spain. Fruitós de Bages, Barcelona – Spain. 4 Composites ate, S.L. C/Garraf, 22. 08830 St Boi de Llobregat, Barcelona, Spain. 4 Composites ate, S.L. C/Garraf, 22. 08830 St Boi de Llobregat, Barcelona, Spain. 5 Advanced Materials and Analysis for Structural Design, Polytechnic School, University of 5 Advanced Materials and Analysis for Structural Design, Polytechnic School, University of Girona, Campus Montilivi s/n, 17071 Girona, Spain. Girona, Campus Montilivi s/n, 17071 Girona, Spain. * Corresponding author (vgarcia@gmail.com) * Corresponding author (vgarcia@gmail.com) Keywords : Non Destructive Evaluation, CFRP, GFRP, Ultrasound, Fatigue. Keywords : Non Destructive Evaluation, CFRP, GFRP, Ultrasound, Fatigue. 1 Abstract 2 Introduction On this study, periodic ultrasonic inspections were performed during flexural fatigue tests, on two The analyses of several scan images (A-scan, B- scan, C-scan, etc.) are often necessary to assure the different composites, and under certain conditions a confocal microscope proved useful to evaluate integrity of a Carbon Fiber Reinforced Polymer surface damage detected by acoustic signal analysis. (CFRP) or in Glass Fiber Reinforced Polymer Rectangular bars of plain weave glass fiber/phenolic (GFRP) components. One of the aims of this study resin composite and bars of a specific sequence of was to improve damage detection, by creating carbon fiber/epoxy resin composite were subjected alternative scan images that can summarize internal to four-point bending fatigue tests until reaching and superficial damage in one single image, and thus 20,000 cycles, but stopping every 2,000 cycles for reduce inspection analysis time. The procedure ultrasound inspection. Software was developed to performed by Mouritz et al. [1] was used to generate create C-scan images, but also to process each A- flexural fatigue damage, but with two other scan signal through one of several algorithms that composites, and this time with the aid of an encoded helped spot internal and surface damage. The tests ultrasound scan. Although ultrasound inspections are using the glass fiber/resin composite allowed used to detect internal discontinuities, surface observing the damage before failure as seen by irregularities can produce contrast spots, and here a acoustic signal analysis. The tests on the carbon confocal microscope was employed to examine the fiber/resin composite showed that ultrasound can aid surface damage. In the past confocal microscopy had to pinpoint where surface damage might be been shown to be useful in quantifying the print- through or surface roughness caused by residual occurring and where a confocal microscope can be used. The confocal microscope can quantitatively shrinkage of the resin on some GFRP [2]. The other record micro topographical surface roughness aim of this study was to explore the capability of caused by points of contact. The study showed that confocal microscopy in quantifying superficial acoustic signal analysis plus confocal microscopy composite damage. can be effectively used to monitor internal and surface damage under flexural fatigue of two different polymer matrix composites.
was that the width of the specimens was larger than 3 Experimental procedure 25mm and secondly that the support and load spans Two different composite materials were subjected to of CFRP specimens, and specimens GFRP-P011, did four-point bending fatigue tests. Specimens were not follow the span-to-thickness ratio of 32 to 1. The rectangular bars of carbon fiber reinforced epoxy, width of 40mm was selected to allow enough and bars of phenolic resin reinforced with plain volume of material to be inspected in a water bath weave glass fiber. The specimens were inspected by a pulse-echo 1MHz (Ø13mm crystal) ultrasonic using immersion ultrasound every 2,000 cycles, until probe. The gain was set at 15dB for all inspections, reaching 20,000 cycles. The water bath and scanner except for specimens CFRP-P041, where a 5MHz were designed and built by Mapro using a Socomate (Ø10mm crystal) probe at 5dB was used. The signal USPC3100LA ultrasound acquisition card. C-scan output voltage remained at 240V. images were produced in addition to other composed The span-to-thickness did not conform exactly to scan images, which resulted after applying different standard D6272, because the cured CFRP specimens algorithms to each pulse-echo A-scan signal. The were thinner than expected and the tool used to align software application to process the pulse-echo and separate the loading support noses had already signals and data visualization was developed also by been built. The alignment fixture tool, which was Mapro using the LabView platform from National recommended by the standard, helped assure all 4 Instruments. points were at the same relative position every time The pre-impregnated fiber used to build the CFRP fatigue cycles had to be renewed. Throughout was Hexcel 8552/32%/134/IM7(12K), where 32% manufacture and testing the specimens were refers to the amount of 8552 resin, 134 is the designated not only using the name that appears in approximate ply thickness in μm, and 12,000 is the Tables 1 and 2, but also using their nominal amount of IM7 carbon fibers per tow. The laminated dimensions, and a number to distinguish them, for CFRP specimens were design by Mapro and CTM, example: CFRP-P041-40-307-8_2/2. and built by the INTA Materials and Structures The fatigue tests were performed using a 250kN Department. The three CFRP thicknesses tested are MTS 322 Test Frame at a frequency of 0.8Hz. A assumed to produce comparable results, because the specimen of each type of material was tested to selected stacking sequences have approximately the determine the maximum strength, σ 0 . Test loads same orientation distributions, as Table 1 explains. were calculated to produce a normalized fatigue The GFRP was Isovid G-3, which was supplied by stress in the range 0.2 to 0.9 for GFRP specimens Composites Ate, and consisted of plain weave and in the range 0.36 to 0.60 for CFRP. 200g/m 2 fiber glass with a modified phenolic resin Normalized fatigue stress is defined as the maximum that enhances its flame retardant characteristics. flexural fatigue stress in the outer layers of the Layers were 0.10-0.11mm thick, and were stacked to laminate, σ max , divided by the maximum flexural match 0º and 90º. strength of the outer layers of the composite, σ 0 . In The tests followed the guidelines of ASTM standard the course of testing, some normalized fatigue D6272 for flexural properties of plastics by four- stresses were varied, but these inconsistencies did point bending. Table 2 shows the dimensions of the not affect the useful information drawn from the CFRP and GFRP bars along with the spans used experimental results. The minimum to maximum during testing. Two deviations from the fatigue stress ratio R was of 0.1. recommendations of standard D6272 did occur; one Table 1. Stacking sequences and percentages of layers oriented 90º, 0º or ±45º. Specimen Stacking sequence % 90º % 0º % 45º %-45º CFRP-P011 8.8 54.4 18.4 18.4 [(0/±45/0 2 /±45/0 2 /90) / ( 0 2 /±45/0 2 /±45/0 2 / 90 ) 12 ] S CFRP-P021 9.5 54.7 17.9 17.9 [(0/90) / ( 0 2 /±45/0 2 /±45/0 2 / 90 ) 9 ] S CFRP-P041 11.9 54.2 16.9 16.9 [(0/90/0/±45/0 2 /90) / ( 0 2 /±45/0 2 /±45/0 2 / 90 ) 2 ] S
Recommend
More recommend
Explore More Topics
Stay informed with curated content and fresh updates.


