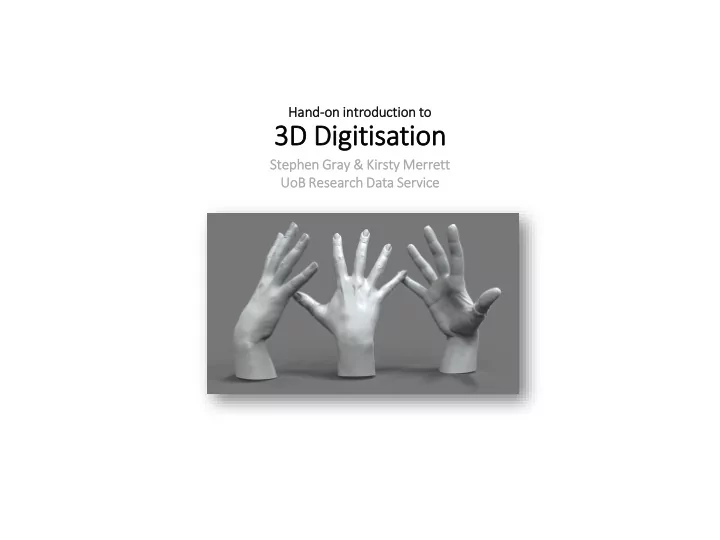

Han and-on intr troducti tion to 3D Dig igitisation Ste Stephen Gray ray & Ki Kirs rsty ty Merr errett UoB oB Res esearc rch Da Data Se Serv rvice
Plan • Some basic information • Laser scanning practical (in this room) • Structured light scanning practical (in this room) • Photogrammetry (not in this room) • Round up
Delivery • Online, viewed in-browser (PC or mobile) • Online, as a downloadable file • As a video (e.g. a ‘fly - through’) • As traditionally printed 2D image • As a 3D printed object • To run on specific hardware (e.g. as part of a console game or a VR environment)
Definitions A Digital 3D model A ‘virtual’ three -dimensional object, with values for depth, width and height, held within a computer system. Stereoscopic imagery The illusion of 3D depth (e.g. ‘3D’ television) produced by showing a slightly different image to each eye. Depth, width and height values don’t really exist in stereoscopic images.
(A little) geometry.
Real-world objects have: • Depth , width & height • Volume (how much water it could hold) • Surface area (the area you would have to paint) • Vertices or ‘corner points’ (e.g. 8 for a cube) • Faces (e.g. 6 for a cube) • Edges (e.g. 12 for a cube)
2x kinds of digital 3D models Point cloud ‘Raw’ (basic) 3D information produced by many 3D scanner (e.g. .xyz files). Has points (vertices) but no edges. Polygon Refined 3D object, often used for viewing, sharing & using (e.g. .obj files). Has points (vertices) and edges.
Point cloud vs. polygon Simple ‘polygon’ (vertices and edges) Simple ‘point cloud’ (vertices only) Polygon (vertices, edges & faces)
A simple point cloud.
A complex point cloud.
A simple polygon.
A complex polygon! (Image Metrics ‘Emily’ http://www.youtube.com/watch?v=HJSw5gGYW6A)
The point cloud .x .xyz format Very simple format, only positions of each dot (vertex) recorded & sometimes the colour of each vertex .xyz are actually just simple (but large!) text files
The polygon.o .obj format .obj (polygonal geometry, lighting, animation etc) .jpg .png etc (colour aka ‘texture map’) .mtl (colour placement info)
3D Digitisation techniques 1. Laser scanning 2. Structured light scanning 3. Photogrammetry
Laser scannin ing • Laser focused on object • Time of bound-back to scanner used to judge distance of a single point • Built-in camera may also collect colour information for each point • Point cloud is built then can be transformed into polygon • Reflective objects are problematic
Exercise: Laser scanning Use the table top laser scanner to create a 3D model. Follow the ‘Laser scanning’ exercise in your workbook.
Laser scanning round-up Cons: Pros: Equipment can be very expensive. Very detailed models can be created. Moving equipment to new vantage points can be time Whole buildings can be consuming. digitised. Many laser scanners don’t capture colour. Reflective surfaces can be problematic.
Structured light scanning • Regular pattern of light projected onto object • Object digitally photographed • Computer calculates degree & nature of pattern distortion • Computer calculates 3D shape of object • Point cloud is built then transformed into polygon for viewing, sharing & using Visible structured light pattern (typically non-visible light is used). • 2D images can be taken to create colour ‘texture maps’ • Reflective objects are problematic
Exercise: Structured light scanning Use Asus scanner & Skanect to create a structured light scan. Follow the ‘Structured light scanning’ exercise in your workbook.
Structured light scanning round-up Pros: Cons: Scanners are inexpensive Scans are fairly low & relatively easy to use. Resolution. Process is fairly quick & models can be exported ‘ready to use’. Process can be Using a laptop, whole temperamental & rooms can be scanned. sometimes needs repeating. Room lighting influences results.
Photogrammetry • Using maths to ‘pull’ 3D geometry from 2D images • Any camera can be used, but ‘neutral’ lenses work best • Done manually in WW1(!), now computerised • Point cloud is built then transformed into polygon for viewing, sharing & using • 2D images can be used to also create colour ‘texture maps’ • Reflective objects are problematic
Exercise: Photogrammetry Use a camera & Photoscan to create a 3D model via the process of photogrammetry. Follow the ‘Photogrammetry’ exercise in your workbook.
Photogrammetry round-up Pros: Cons: An inexpensive camera can be Post-production can be used. very slow & complex. Models can be highly detailed. Lens-distortion influences Whole buildings (even mountains) can be results. digitised. Available lighting influences results.
Photogrammetry round-up Pros: Cons: An inexpensive camera can be Post-production can be used. very slow & complex. Models can be highly detailed. Lens-distortion influences Whole buildings (even mountains) can be results. digitised. Available lighting influences results.
Longevity alert! 3D models usually involve a lot of processing to arrive at a final version. e.g. set of images>photogrammetry project files>meshes>polygons + textures Try to retain as much of this as possible to maximise chances of re- use. Don’t just keep (or accept delivery of) the ‘final thing’.
Recommend
More recommend